

Getting parchment paper to stay neatly in your loaf pan can be tricky. The trick is shaping it so it fits perfectly without bunching or tearing, making for easier removal, and cleaner slices.
By the end of this guide, you’ll know a simple method to line your pan perfectly every time. Keep reading for a quick and easy way to prep parchment paper like a pro.
Use the Upside-Down Pan Method for a Perfect Parchment Fit
To get a perfectly fitted parchment liner that won’t slide around or bunch up, use the upside-down pan method. Start by placing the parchment over the bottom of your inverted pan, ensuring enough excess extends beyond the edges of the long sides. Then, press the paper up and over the outside walls of the pan, folding it down like wrapping a gift. Crease the paper along the edges of the pan—snugly but without tearing it—to establish a clean fit. Tuck or pinch the corners into neat diagonal folds so the liner remains flush against the pan’s sides and bottom. Once the parchment is shaped, lift it off, flip your pan right-side up, and gently drop the liner inside. This technique results in a smooth, minimal-wrinkle fit that stays in place during baking. It works with various paper types and shaped pans, from standard rolls to pre-cut sheets, and is especially useful for round or mini loaf pans. Using this method, you create a parchment sling that facilitates effortless removal of baked goods such as cookie bars. For a neat, long-lasting result, ensure the creases are sharp and evenly pressed to prevent the paper from shifting during the fold. For cakes baked in a tube pan, using a clean release method prevents the delicate crumb from tearing when you lift the liner out. Using a liquid measuring cup to pour batter ensures consistent portions and reduces spillage.
Gather Your Loaf Pan, Parchment, and Scissors
To prepare your parchment correctly, gather a standard loaf pan measuring either 8.5 by 4.5 inches or 9 by 5 inches. This ensures the parchment can sit flat inside the pan, which is vital for an even bake. Confirm the shape of your pan; straight-sided pans make lining easier than tapered or angular ones. Decide whether your recipe needs full parchment coverage or just a sling for lifting the baked item out. Use heavy-duty baking parchment—never wax paper—either from a roll or pre-cut sheet. Keep the parchment flat and uncrumpled to prevent wrinkles that could affect your bake. Using a precise food scale can help verify your parchment sheet’s weight for consistent results. Use sharp, clean scissors for precise cuts to avoid jagged edges. Work on a flat, well-lit counter with plenty of space to prevent crowding. Test the fit immediately after cutting by placing the parchment in the pan; slightly oversized pieces are preferable to ones that are too small, making adjustments quick and straightforward. This careful setup helps avoid waste, saves time, and makes handling any ingredient or temperature changes more manageable. Preparing the Parchment Paper by tracing around the pan’s inside corners with a grid ensures accuracy. For a professional finish, consider using a homemade baking rack to cool the pan after baking. After baking, lift the loaf out using the parchment sling and place it on a Silpat mat to cool, as the mat’s non-stick surface helps protect your counter from heat and prevents the crust from sticking.

EASY BAKING – No more thin, messy parchment. Our non-stick, unbleached paper ensures clean baking trays and perfect pastries, breads, and more.

EXTRA STRONG - 2-Pack 15 in x 210 ft parchment roll, made of extra thicker 45gsm paper vs commonly used 35gsm or 40gsm paper, it's about 12% thicker than others. We define it as heavy duty parchment roll.

【15in x 350ft Parchment Paper Roll 】YUANYE baking paper has a total area of 437.5 square feet. This roll is heavy duty long enough for multiple uses. Made from 100% natural wood pulp, it is unbleached, non-toxic, BPA-free, and free of any harmful chemicals such as fluorescent brighteners or chlorine.
Measure and Cut a Strip Slightly Larger Than the Pan
Measure the pan’s longer inside dimension and cut a strip of parchment to that width, typically around 9 inches for a standard 9 x 5 inch loaf pan. Accurate measurement here prevents excess bulk and helps the parchment sit flat against the sides. For the length, cut the strip 12 to 15 inches long to cover the bottom and both long sides, allowing a 2 to 3 inch overhang on each side. Use sharp scissors to ensure clean cuts; a ragged edge can lead to tearing later. If your pan has nonstandard dimensions, match the width to its longer measurement. It’s safer to cut the parchment slightly larger than too small because you can trim off excess later. The goal is to have a strip that extends above the rim of the pan for easy lifting, not one that stops flush with the top. Unlike plastic measuring cups, which have specific heat limits that vary by plastic type, parchment paper is generally safe for oven use up to 425°F. For bakes requiring higher heat, swap in a silicone mat as it withstands temperatures up to 500°F without scorching. A piping tips chart can help you select the right nozzle for decorative cake designs that require precise parchment stencils or piping patterns.

【Healthy and Reliable Material】Loaf pan liners are made out of unbleached, natural wood pulp, with a plant based oil treatment, no fluorescent agent, BPA-free, PFAs-free. 12% thicker than ordinary parchment to be durable and sturdy, heat resistant up to 450℉/230℃.

Perfect Fit: Custom-designed for the 9x5inch pans. The bread pan liners parchment compatible with 2 lb loaf pans are designed with a rectangle bowl shape, which do not need to tear, fold, cut, nor bend, and you can directly put it in when you are ready to cook. Fitting size make for a much faster and easier cooking and baking experience in kitchen.
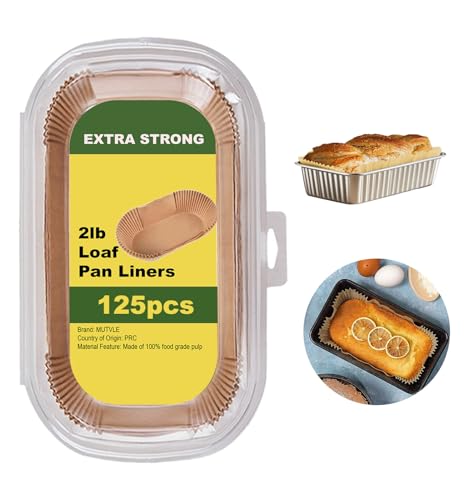
Healthy and Reliable Material: Loaf pan liner are made out of unbleached, natural wood pulp, with a plant based oil treatment, no fluorescent agent, BPA-free, PFAs-free. 12% thicker than ordinary parchment to be durable and sturdy, heat resistant up to 450℉/230℃.
Shape the Parchment Around the Inverted Pan for Clean Creases
Center the parchment on your inverted loaf pan, using the pan itself as a folding guide. Keep it centered so both long sides and short ends have enough overhang. Press the paper along the pan’s outer edges, running your fingers down the corners to mark the rectangular outline. Apply gentle pressure—don’t tear it.
Next, fold the overhangs inward like wrapping paper. Start with the long sides, then fold the short ends, letting them overlap at the narrow ends. Pinch each corner where the paper rises, then press it flat to form a sharp triangular crease. Perform this on all four corners to ensure symmetry. Smooth and adjust the parchment by hand to refine its shape, making sure the creases hold firmly. This precise shaping prepares the parchment for a snug fit around the pan later on.

PURELY NATURAL & FOOD-SAFE: Crafted from unbleached wood pulp, our parchment paper is free of BPA and fluorescent agents—safe, waterproof, and 100% food-grade.
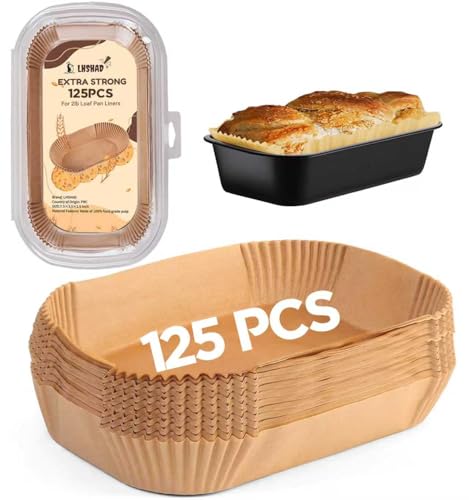
【Non-stick & Easy to release】Using food grade parchment, with a plant based oil treatment, Unbleached raw wood, no fluorescent agent, BPA-free, PFAs-free. With its non-stick surface and oil-proof backing, the Parchment Loaf Pan Liners is suitable for baking all types of food.

Healthy and Reliable Material: Loaf liners are made out of unbleached, natural wood pulp, with a plant based oil treatment, no fluorescent agent, BPA-free, PFAs-free. 12% thicker than ordinary parchment to be durable and sturdy, heat resistant up to 450℉/230℃.
Trim the Corners So the Liner Fits Snugly in the Pan
To ensure the liner fits snugly, you need to trim the corners with a small slit from each corner toward the center. The slit should stop exactly at the pan’s inner crease and match the side height, typically about 1.5 to 2 inches. Be careful not to cut past the corner, as that can weaken the liner and decrease coverage. These corner slits create overlapping flaps that help prevent bunching where the side walls meet the base, resulting in a cleaner fit. For those who frequently bake bread, a KitchenAid mixer can streamline mixing the dough efficiently. Opt for controlled, short cuts instead of large triangular cuts to avoid tearing. Keeping in mind the parchment’s material properties, folding the flaps behind one another can give you a smooth, tight fit without damaging it. Measure the liner beforehand to make sure about 2 inches of overhang remains on each side. A well-fitted corner prevents air gaps, keeps the liner from shifting during baking, and makes removing the finished loaf easier.
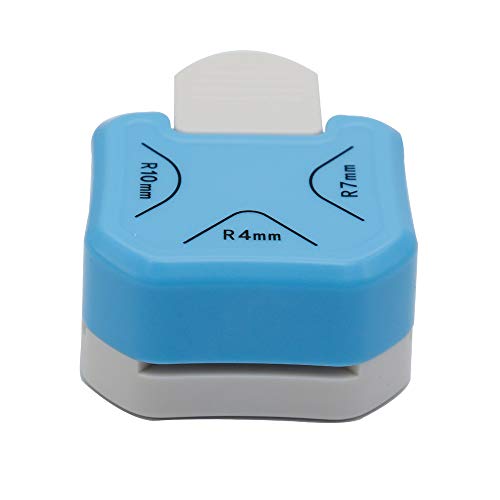
1,Corner Rounder Punch 3 in 1 : Cuts 4mm 7mm 10mm bookmark cutter Corner Radiuses,Create perfectly finished paper crafts or scrapbooks with 3-way corner cutter.

Corner Rounder Punch: TONOS corner punch can trim sharp paper edges into smooth, rounded corners, making your projects look cleaner and more polished. Designed for paper crafters and DIY lovers, this compact cutter is perfectly in your hand for quick, smooth cuts every time.

PRECISE CORNER CUTTING: Creates consistent 3mm rounded edges on standard PVC, paper, and photo cards.
Press the Parchment Into the Greased Loaf Pan
To press the parchment into the greased loaf pan, start by centering a rectangular sheet so the long edges align with the pan’s length and overhang by about 2 inches on each side. Gently press from the center outward, beginning at the bottom of the pan, smoothing the paper toward the edges to eliminate trapped air and ensure it sits flush against the base. Then, carefully shape the paper against the inner walls by folding and creasing along the edges to outline the pan’s shape. Firmly press into the corners, making sure the liner hugs every surface without gaps. To remove air pockets, press from the center toward the corners, pushing out any trapped air. If you notice loose or uneven folds, adjust them with your fingertips until the liner fits neatly. This method works well even when baking in aluminum pans, as the paper barrier helps prevent any direct contact with the metal. Using the correct fat for greasing the pan provides an additional anti-stick layer beneath the paper. A snug fit helps prevent shifting during baking. Finally, apply gentle pressure to secure the liner before pouring in your batter. Before shaping, mark the sides of the paper where folds will occur to guide precise creasing, as outlined in the parchment preparation steps. Using a foil-lined baking sheet beneath the loaf pan can catch any drips and ensure even heat distribution.

【Non-stick & Easy to release】Using food grade parchment, with a plant based oil treatment, Unbleached raw wood, no fluorescent agent, BPA-free, PFAs-free. With its non-stick surface and oil-proof backing, the bread pan liners parchment is suitable for baking all types of food.

Fits 9x5 Loaf Pans Perfectly:Each loaf pan liner measures approx. 7.3" x 3.5" x 2.5" (18.5 x 9 x 6.5 cm), designed to snugly fit most 8x4" or similar loaf pans—no trimming or shaping required.

Universal Fit Loaf Pan Liners: Pre-formed parchment paper loaf pan liners fit 9x5, 8.5x4.5 and 10x5 Bread Loaf Pans, making baking banana bread, cakes, or sourdough quick and hassle-free
Lift the Baked Loaf Out Using the Parchment Overhang
Once your loaf is fully baked and has cooled slightly, you can lift it out using the parchment overhang as built-in handles. Grip both sides of the parchment simultaneously for a balanced lift, pulling straight up while steadying the pan. This method, often called a sling, helps maintain the loaf’s texture by preventing cracks or breaks that can damage the crumb structure. It also protects the loaf’s flavor, since a properly handled loaf keeps its moisture and shape. For additional release insurance, you can also apply a nonstick baking spray containing flour to the pan before adding the parchment, a trick similar to greasing a bundt pan. Before lifting, gently loosen any edges that are still stuck with a knife. Avoid pulling too sharply or removing the loaf while it’s still very soft, as it needs time to set and firm up, similar to how waiting for full cooling prevents surface cracks in a cheesecake. Using a gentle, steady motion is especially important for delicate baked goods that require careful handling. Once the loaf is lifted out, transfer it to a cooling rack before peeling away the parchment. Removing the parchment gently ensures a clean, intact loaf that is ready for slicing.