

Wondering how to safely remove the bowl from your KitchenAid mixer without causing any damage? Whether you have a tilt-head or bowl-lift model, the process is simple once you know the right steps.
Knowing the correct method helps prevent breaks or cracks and keeps your mixer in good shape. Keep reading to learn the best way to take your bowl off easily and safely.
Is Your KitchenAid a Tilt-Head or Bowl-Lift? (Check Before You Remove the Bowl)
First, check whether your KitchenAid mixer is tilt-head or bowl-lift before removing the bowl. If the head hinges backward for access to the bowl, it’s a tilt-head model. These are typically slimmer, lighter, and offer more color options. If the head remains fixed and you see a side lever along with two vertical arms, it’s a bowl-lift model. Bowl-lift mixers are built heavier to handle larger batches, and their greater weight provides stability for dense doughs. Matching the bowl size to your recipe volume helps ensure the perfect cake pan fill for even baking results.
Inspect the bowl itself to confirm. Tilt-head bowls twist onto the base and stay in place during mixing, making removal straightforward. Bowl-lift bowls sit on the lifting arms and are raised or lowered via the lever—twisting isn’t involved. Size can also be a clue: tilt-head models usually range from 3.5 to 5 quarts, while bowl-lift models can reach 5 to 7 or more quarts. Don’t rely solely on recommended attachments, since many are compatible with both styles, but bowls are not interchangeable. Confirm the type by noting the hinge or lift hardware first, then proceed to remove the bowl correctly. Bowl-lift models offer greater stability during heavy mixing, ensuring the bowl stays secure when raised. For those who frequently bake in large batches, using a precise food scale can help ensure consistent ingredient ratios and optimal mixing performance.
How to Remove a Bowl From a Tilt-Head KitchenAid (Step by Step)
To remove the bowl from a tilt-head KitchenAid safely, start by preparing the mixer. Turn the speed control to OFF, unplug the appliance, and keep any attachments clear of your workspace. This ensures the bowl is compatible with your intended mixing task and prevents accidents. Next, push the head-release lever to release the mixer head, then tilt it back until it locks into the raised position. Make sure it’s fully upright before handling the bowl. To prevent the bowl from coming loose during future use, ensure the bowl is properly seated and aligned on the base plate pins before locking it into place. Firmly grip the bowl handle, then turn it counterclockwise to disconnect it from the base plate. A small twist is all that’s needed. Once it disengages, lift the bowl straight up. If the bowl feels stuck, wrap a warm, damp towel around the bottom for about 10 minutes to help the metal expand. Alternatively, applying a small amount of mineral oil at the crease may loosen it. For stubborn baked-on residue around the bowl base, a paste of baking soda can help dissolve grime before attempting removal. Avoid twisting or prying the bowl while the mixer is powered on to prevent damage. After removal, clean the base plate with a non-abrasive sponge to reduce future sticking, as recommended for maintaining the surface of delicate kitchen tools.

ONLY FOR KITCHENAID TILT HEAD MIXERS: wipe your stand mixer whisk and bowl in seconds
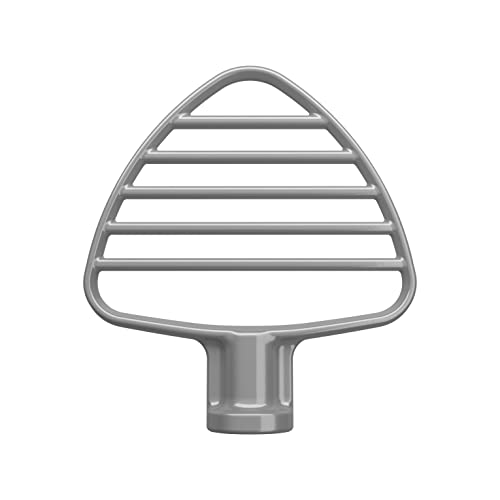
Fits all 4.5 and 5 Quart KitchenAid Tilt Head Stand Mixers, sold separately
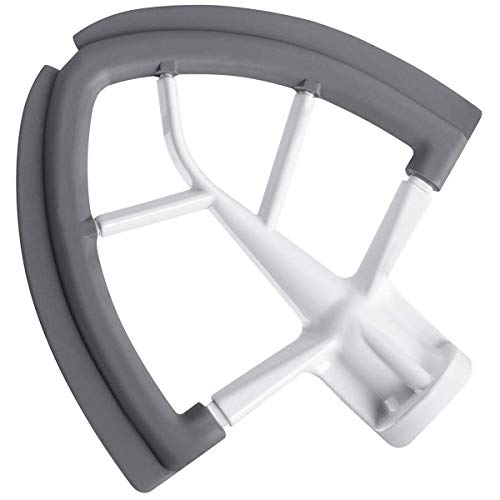
Continuous Bowl Scraping: Flexible silicone edges help scrape bowl sides and bottom while mixing, reducing manual scraping and improving ingredient incorporation for more consistent results
How to Remove a Bowl From a Bowl-Lift KitchenAid (Step by Step)
To remove a bowl from a bowl-lift KitchenAid, start by turning the speed control to OFF and unplugging the mixer. Lower the bowl-lift handle fully to its lowest position. Before lifting the bowl, remove any attachments such as the flat beater, wire whip, or dough hook, since leaving them on can block removal or cause damage. Always ensure attachments are properly secured before mixing, but for removal they must be detached first. For sourdough bread, choosing a quality loaf pan helps prevent sticking and ensures even baking. Similarly, when releasing an angel food cake from the pan, cooling upside down is a critical step to prevent collapse and sticking. A half sheet pan is also a versatile baking tool for even heat distribution and batch cooking.
Firmly grasp the bowl handle, then lift it straight up off the locating pins using an upward motion. Avoid twisting or pulling sideways, as this can damage the bowl or the machine. Keep the bowl aligned over the pins until you begin lifting, ensuring it moves straight up without force. Confirm that the bowl clears the pins completely before moving it away to prevent accidental damage.
This straightforward, tool-free process works on all bowl-lift KitchenAid models and helps maintain the integrity of both the bowl and the mixer.

FULLY COMPATIBLE: This Pine Wood Mixer Mat Slider is specially design for KitchenAid 5-8 Qt Bowl Lift Stand Mixer. It is not for KitchenAid Pro 450 Series / Pro 500 Series
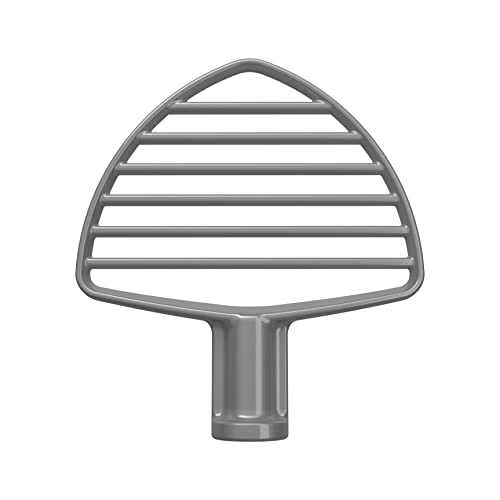
Fits KitchenAid Bowl-Lift Stand Mixers with Stainless Steel Bowls Only - models: KV25G0, KP26M9, KP25M0, KP26M1, KSM758, KSM759, KSM6583, KSM500, KL26M8, KF26M22, KF26M1Q, KP26N9, KP26M8, KV25ME, KV25MC, KSM55, KSM60, KSM70, sold separately

FULLY COMPATIBLE: This Bamboo Mixer Mat Slider is specially design for KitchenAid 5-8 Qt Bowl Lift Stand Mixer. It is not for KitchenAid Pro 450 Series / Pro 500 Series
What to Do When the Bowl Is Stuck (No Force Required)
Apply seal lubrication at the contact point. Use a small amount of mineral oil near the crease where the bowl meets the base plate. Vegetable oil spray can be an alternative, but keep in mind that oils based on food ingredients might become sticky over time. Drip or spray the lubricant into the grooves, then gently twist the bowl. You can add a light wiggle or press down slightly while turning to encourage movement. No force is necessary—patience, a bit of warmth, and some oil are all you need to loosen a stuck bowl effortlessly. For precise application, consider using top measuring spoons to drip the lubricant exactly where needed. If you worry about microwave compatibility later, note that most glass mixing bowls are rated as microwave safe, but metal bowls should never be microwaved.
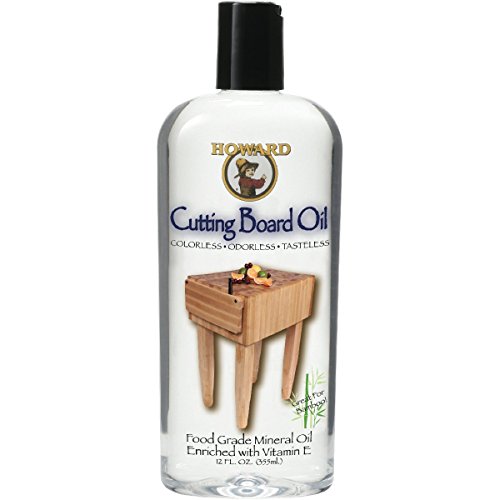
Cutting Board Oil is a deep penetrating 100% Pure USP Food Grade Mineral Oil that is tasteless, odorless, colorless, and will never go rancid

NSF APPROVED - This Petrol-Gel lubricant is approved by the National Sanitation Foundation (NSF) for use in food processing equipment. Keep your equipment running smoothly and safely with this food grade lubricant.

FOOD-GRADE MINERAL OIL FOR CUTTING BOARDS: Helps restore and protect dry cutting boards, butcher blocks, and wooden kitchen surfaces. Refreshes dull, worn wood and helps prevent cracking or splitting; works on bamboo, teak, acacia, olive wood, and hardwood boards
How to Clean the Base Plate to Stop Future KitchenAid Bowl Seizing
To clean the base plate and prevent future seizing of your KitchenAid bowl, start by unplugging the mixer. Expose the bowl support, then remove the bowl and any attachments. Use a soft, damp cloth to wipe the bowl support, locating pins, and surrounding plate, ensuring you remove any debris or residue. Removable parts such as the bowl and attachments should be washed with warm, sudsy water, then rinsed thoroughly and dried completely. Avoid immersing the mixer’s body or using harsh cleaners, which can damage its finish. For perfect measuring results, it is also key to ensure your bowl is seated correctly and free of buildup.
Regularly clean the rim of the bowl clamping plate to prevent buildup of flour dust, dough residue, and grease. Pay special attention to the grooves where the bowl seats—these areas often trap residues that cause sticking. Wipe off the beater shaft to prevent residue migration into the bowl area, focusing on sticky films from cooking sprays or oils that can attract particles. Consider consulting reviews of top sheet cake pans to ensure your bakeware matches the bowl capacity for even baking.
When cleaning the base contact points, use a mild dish soap and warm water, avoiding abrasive cleaners or scouring pads that can scratch surfaces. Dry all cleaned surfaces thoroughly—especially the underside, spring latch, and support pins—to prevent moisture from causing corrosion or sticking during reassembly. Particularly focus on the locking surfaces, keeping them dry to avoid future seizing. If you use any lubricant on these components, ensure they are cleaned with appropriate solutions afterward to prevent buildup, and routinely maintain your mixer accessories for smooth operation. For additional help, consider reviewing top attachments for KitchenAid mixers to compare options that may reduce residue buildup.

Cleans, polishes & protects stainless steel: Our stainless steel cleaner for appliances removes fingerprints, grease, residue, and water spots. Weiman appliance wipes leave a streak-free shine and a protective barrier that helps prevent future smudges.
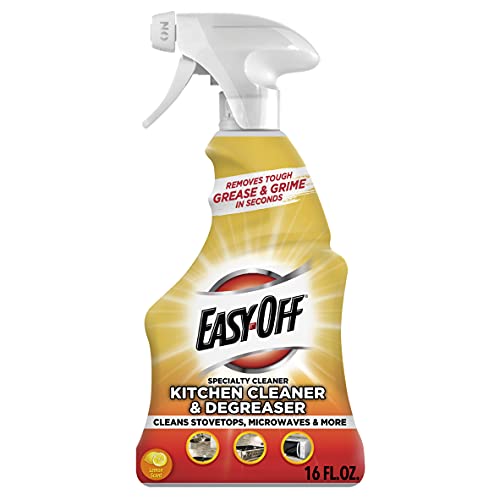
Kitchen Degreaser is a specialty cleaner for the toughest grease in the kitchen.

2-pack daily cleaner + microfiber towel: Our stove top cleaner & degreaser, which won a 2026 Good Housekeeping Award, includes two ready-to-use spray bottles and a soft microfiber cloth for easy wipe-and-buff cleaning.
Why Your KitchenAid Bowl Keeps Getting Stuck in the First Place
Your KitchenAid bowl often gets stuck because multiple factors combine to create a tight fit. Dense doughs or extended mixing sessions tend to over-tighten the bowl into its locking mechanisms, especially as the planetary action presses down during heavy use. Improper seating also plays a role; if the bowl isn’t aligned correctly on the support arms, it won’t lock properly. Worn or dented bowl ridges, bent fins, and food residue trapped in the locking channel can all seize the fit, making removal difficult. Additionally, heat generated from heavy or prolonged use causes metal parts to expand slightly, increasing friction and contributing to the jam. Understanding what dough hooks look like can help you avoid overloading the mixer with inappropriate attachments that strain the locking mechanism. A cooling method with ice and cold water can effectively release the stuck bowl by reducing metal expansion and friction. Choosing a durable hot pad to handle the bowl safely can help avoid burns while you work to release it. In most cases, it’s the interplay of these issues—over-tightening, misalignment, wear, residue, and heat—that causes the bowl to become stuck. If your bowl remains stuck despite these fixes, a creative approach like using a square pan as a stabilizer can help apply even pressure during removal without damaging the mixer.
How to Avoid Damaging Your KitchenAid When Removing the Bowl
To avoid damaging your KitchenAid when removing the bowl, start by disconnecting the power supply and preparing your work area. Unplug the mixer and set the speed control to Off before touching any parts. Identify whether you have a tilt-head or bowl-lift model to follow the correct removal procedure. For tilt-head mixers, release the latch on the head before rotating the bowl; for bowl-lift models, lower the lift lever fully prior to lifting the bowl straight up. For extra safety, you can also use a soft grip that mimics the gentle handling required for handmade crochet projects.
Support the bowl with both hands to prevent spills and impact damage. Lower the bowl gently and avoid jerking or yanking it free. Use slow, controlled movements—forcing or rapid pulls increase the risk of damaging the clamping plate or bowl rim. If you encounter resistance, do not continue; forcing can cause harm. Similar to letting a bundt cake cool before removing it, you should avoid rushing the process to prevent mishandling. Similar to releasing a stuck bundt cake, you can use a damp cloth around the base to gently reduce friction without damaging the mixer.
Avoid using hard tools like hammers or screwdrivers. Instead, reduce friction by wiping around the base with a damp cloth, which can help loosen stuck bowls. Never apply excessive force to the release lever or pry against the mixer base. Keeping the bowl level as you lift prevents scraping against the locating pins and reduces the chance of damage.

The Comfy Grip attachment transforms your bare metal stand mixer handle into a comfortable, non-slip grip to easily raise and lower the mixing bowl

Product Information: Product included 1 X Comfy Grip for Bare Metal Handle for KitchenAid for product specific size information,The package includes all the accessories in the picture.
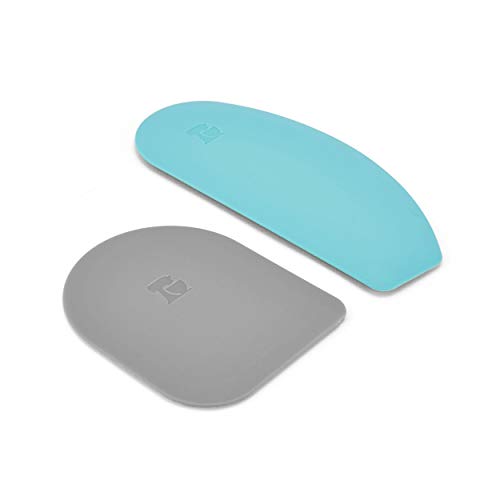
FLEXIBLE SILICONE BOWL SCRAPER : The silicone bowl scraper conforms to the inside of the bowl for maximum results. It's perfect for scraping flour, dough, batter, and more! The silicone is heat resistant to 400°F.
How to Reinstall the KitchenAid Bowl Without Misaligning It
Ensure the bowl is fully locked in place by feeling for a distinct snap or firm resistance when you rotate or press it into position. If it feels loose or wobbly, recheck the contact points where the bowl connects to the base. Look for worn or damaged clips and base plates, as these can prevent proper alignment even if the bowl appears correctly seated. Finally, verify that the bowl sits level and centered on the stand. If the support arms are uneven or if the beater hits one side when spinning, you need to adjust or replace parts before continuing to avoid misalignment during use.