Wondering how many mini loaf pans you need to make a full-sized loaf?
The answer depends on the size of your smaller pans.
Generally, about four mini loaf pans that hold 2 cups each will equal one standard 9×5-inch loaf pan.
Keep reading for a simple chart to match your pan sizes and baking tips.
How Many Mini Loaf Pans Equal One 9×5 Loaf? (Quick Chart)
To replace one 9×5-inch loaf pan with mini loaf pans, you’ll typically need about 4 mini pans of the common size, which measures around 5.75×3 inches. This size mini pan holds approximately 2 cups of batter, whereas a standard 9×5 pan holds about 8 cups. If your mini pans are smaller, holding only 1.5 cups, you should plan for around 5 mini pans. For pans holding just 1 cup, you’ll need approximately 8. Keep in mind that actual capacity varies by brand and model, so always check your pans’ specifications before baking. Using the right number of mini pans ensures you get consistent results and properly portioned loaves. Achieving precise measurements is easier when you use high-quality measuring cups for your liquid ingredients. After baking, you can clean the mini pans using baking soda paste to lift stubborn residue without damaging the nonstick surface. For KitchenAid mixer attachments that can help evenly mix your batter, the bowl capacity and paddle type are important factors to consider.

PERFECT FOR INDIVIDUAL SERVINGS: Measuring 5.75 x 3-Inch, this mini loaf pan is ideal for baking personal-sized breads, pound cakes, and meatloaves, making it perfect for portion control and gift-giving
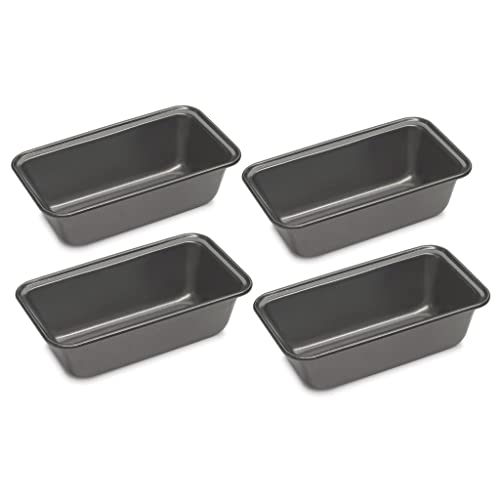
Heavy-gauge steel construction provides even heating

Ready, Set, Bake: Streamline your baking with this set of 3 Wilton Mini Loaf Pans. Maximize oven space, minimize time, and enjoy perfect pound cakes, cornbread, and homemade breads.
What Does a Mini Loaf Pan Really Hold? (Capacity Guide)
Mini loaf pans typically hold between 1 to 2 cups of batter, with many standard pans around 1 cup. The exact capacity depends on the specific pan’s size and design, so it’s important to measure your pan’s volume for accurate recipe adjustments. To do this, fill the pan with water up to the level you plan to fill with batter, then pour the water into a measuring cup to see how much it holds. Remember to leave some headspace to allow for batter expansion during baking. Variations in batter density, such as dense banana bread compared to airy lemon loaf, mean the same pan can hold different volumes depending on the recipe. Always measure by volume rather than relying solely on shape or appearance to ensure your baked goods don’t overflow or turn out underfilled. For the most consistent results, using a food scale ensures precise batter measurements when scaling recipes between pan sizes. Investing in a quality measuring cup set can also improve accuracy when checking pan capacity or adjusting ingredient amounts. A top-rated tube pan combines performance and value, but its central tube design significantly alters batter distribution compared to standard loaf pans.
Why 3 Mini Loaf Pans Work Better Than 4 (Fill Level and Pan Size)
Filling three mini loaf pans with batter results in a more consistent, higher fill level compared to four pans. A typical mini loaf pan measures about 5 3/4 by 3 1/4 inches and holds roughly 2 cups. Using three pans for a standard loaf recipe amounts to about 6 cups of batter, filling each pan to the ideal 2/3 to 3/4 capacity. This ensures a reliable rise and well-formed dome. When you switch to four pans, each receives about a quarter less batter, often dropping below the optimal fill level. Underfilled pans produce flatter loaves with less height and a less impressive dome. Therefore, sticking with three pans ensures a better fill level, leading to taller, bakery-style loaves. For pans that remain pristine, use baked-on residue removal methods to keep them looking new.

【Premium Material】Made of premium quality aluminum foil material, faster heat conduction, more light weight and environmental friendly.

FOUR MINI LOAVES AT ONCE: This linked mini loaf pan set includes 4 connected wells measuring 6.5" x 14.5" x 2" overall, so a full batch of mini breads or cakes bakes in a single pan.
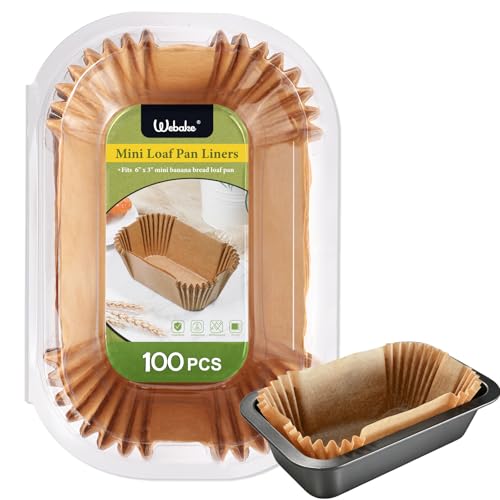
PURELY NATURAL & FOOD-SAFE: Crafted from unbleached wood pulp, our parchment paper is free of BPA and fluorescent agents—safe, waterproof, and 100% food-grade.
What If Your Mini Loaf Pans Are Smaller? Adjusting the Count
If your mini loaf pans are smaller than the standard 5.75 by 3.25 inches, you’ll need to adjust the number of pans based on their volume. Petite pans that hold 1 cup each require about twice as many as a 2-cup mini pan. For a 6-cup loaf, expect to use around 6 of those 1-cup mini pans; for an 8-cup loaf, you’ll need approximately 8. If your pans only hold 2/3 cup, plan for between 9 and 12 pans per loaf. To determine their actual capacity, fill each pan with water and measure how much it holds—labels can be misleading. Always round up to whole pans to avoid wasting batter on partially filled ones. To keep portions consistent nutritionally, note that smaller servings still match the original ingredient ratios, just in smaller quantities. For storage, freeze baked minis individually and label each with the number of pans used to prevent confusion later.

Bake Choice Mini Loaf Pan Liners: Package includes 100 natural mini muffin liners sized at 3.15"×1.97"×1.57". Perfectly compatible with Wilton mini loaf pans for seamless fit without gaps. Elevate your home baking with professional-grade convenience!

【Perfect Size for Individual Servings】Not only you are getting 20pcs 6.80z aluminum foil pans measuring at 5.7"x1.8"x1.2",20pcs clear "plastic lids,but also another 20pcs disposable spoons.The perfect size for mini loaves and cheesecakes,cream cakes,brownies,muffins,baguettes and more.Ideal snack cups and dessert cups.

Complete Set: Each package includes 25 set of 6.25x3.5x2 inches mini loaf pans with lids. Whether you're hosting a large gathering or preparing meals for the week, these mini cake pans with lids will offer unparalleled convenience for cooking, baking, roasting, and serving
How to Adjust Bake Time and Fill Level for Mini Loaves
Fill mini loaf pans about two-thirds full to ensure even baking and prevent spillover. This typically requires around 18 to 30 minutes at 350°F, which is roughly half the time needed for a standard loaf. Overfilling can cause batter to overflow and result in uneven baking, while underfilling will shorten the bake time by 2 to 5 minutes. To check for doneness, start testing several minutes before the minimum bake time; insert a toothpick into the center, and it should come out clean. For denser batters, reduce the oven temperature by 25°F to prevent overbrowning before the center is fully baked. If the top browns too quickly, tent the loaf with foil to protect the crust. Ingredient substitutions, such as swapping oil for applesauce, can also impact bake time because lighter batters tend to finish quicker. Using a high-quality mixer with a stainless steel bowl helps ensure even mixing for consistent results across your mini loaves. Stick to a steady 350°F for most quick breads, but adjust the temperature if your batter is very heavy to achieve even baking. Using a food scale ensures precise batter amounts for consistent results, and mastering food scale use helps you avoid overfilling or underfilling any pan size. Additionally, metal bowls conduct heat efficiently, which can help maintain a stable dough temperature during mixing, but they are not ideal for proofing since metal can chill the batter and slow yeast activity.
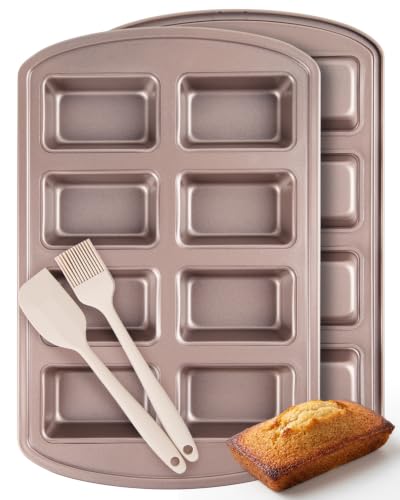
4-Piece Value Set for Batch Baking. Maximize your oven space! This premium set includes TWO 8-cavity mini loaf pans (bake 16 mini treats at once!), plus a high-heat resistant silicone spatula and a basting brush. A complete, ready-to-use kit perfect for weekly meal prep, holiday baking, or as a thoughtful gift.

Premium Mini Loaf Pan: The Wilton Gold Mini Loaf Pan is a durable loaf mold ideal for mini cakes, brownies, and breads with even heat distribution; it measures 15 inches long, 10 inches wide, and 1.6 inches deep

SET INCLUDES: 4 mini loaf pans; measures 5.75" L x 3.25" W x 2.25" H each
Common Mini Loaf Pan Sizes and How to Measure Yours
To measure your mini loaf pan precisely, start by grabbing a ruler. Measure the inside top edge length and width, making sure to avoid the rim for accuracy. For the depth, place the ruler vertically from the inside bottom to the top rim. Remember, don’t rely on the outer dimensions because tapered sides often make the bottom smaller than the top measurement. To get the most exact capacity, fill the pan with water and see how many cups it holds. This method ensures you know exactly what your pan can handle for any recipe. For greater precision in measuring liquid ingredients, using dry measuring cups is the best approach for solid ingredients. Properly maintaining your aluminum baking sheet with methods that lift baked-on residue will also help preserve its accurate shape and capacity. If you prefer using a sheet pan with wire rack for other baking projects, its consistent non-stick surface also helps maintain precise dimensions over time.

Premium Carbon Steel & Advanced Non-Stick Coating: Engineered with heavy-gauge, commercial-grade carbon steel, our mini loaf pans ensure exceptional durability and superior, even heat distribution for perfectly baked goods every time. The industrial-strength, reinforced non-stick coating is PFOA, BPA, and PTFE-free, guaranteeing effortless food release and a hassle-free cleanup. Unlike flimsy alternatives, this pan resists warping under high temperatures (oven-safe up to 450°F/232°C).

【PERFECT FIT FOR MINI LOAF PANS】Includes 150 premium mini loaf pan liners measuring 3.08" x 1.97" x 1.57". Perfectly compatible with Wilton mini loaf pans for seamless fit without gaps. Ensures your batter bakes evenly into beautiful, professional-looking petite loaves.

Sturdy Metal Frame: The hidden stainless steel frame along the edges of the silicone bread loaf pan offers excellent stability. Thoughtful handles let you safely move the loaf pan in and out of the oven and effectively prevent batter leakage