

Have you ever opened your oven to find your cake stuck to the pan? Greasing your bundt pan properly is the key to easy unmolding and a perfect-looking dessert.
The trick is to create a thin, even coating of fat followed by flour or cocoa dusting, ensuring every nibble of your cake comes out smoothly.
Keep reading to learn how to do it right.
Why Greasing a Bundt Pan Is Different From a Regular Cake Pan
Greasing a Bundt pan requires much more careful and thorough coating than a regular cake pan. The reasons are clear: the intricate grooves and ridges create numerous contact points where the cake can stick. These crevices mean any missed spot can cause tearing or difficulty in releasing the cake after baking. Additionally, the center tube of a Bundt pan increases the surface area that needs to be greased, making even coverage essential. To maintain the pan’s performance over time, it is helpful to periodically clean it using baked-on residue removal methods that avoid damaging the surface. Choosing a high-quality roasting pan with rack can offer similar durability and ease of cleaning for savory cooking tasks. For those who also bake frequently, investing in a reliable stand mixer can improve batter consistency and overall results.
Materials used in the pan also influence how much greasing is needed. Nonstick coatings can wear down over time, especially in detailed areas, reducing their effectiveness. This makes it critical to coat every seam, corner, and intricate detail thoroughly, often using a pastry brush to reach tight spots. For best results, avoid letting the greasing process delay filling the pan. Applying the batter immediately after greasing helps ensure the coating stays effective, leading to a clean release and a beautifully shaped cake. Applying grease too early can cause the coating to slide down the pan, reducing its effectiveness.
Choose the Right Fat for Your Bundt Pan
Vegetable shortening is your best choice because it remains stable at high temperatures, spreads thinly, and releases baked goods cleanly from even the most detailed grooves. It’s less likely to cause sticking compared to other fats, making it reliable for ornate and intricate Bundt pans. Butter provides rich flavor but contains water and milk solids that can increase the risk of sticking, especially in complex shapes. Oil offers quick, even coverage when brushed carefully but has a tendency to pool in crevices, which may lead to uneven release. The stable weight of a standard KitchenAid stand mixer is approximately 25 pounds, which influences how firmly it holds the bowl during heavy mixing. For best results, use high-quality oven gloves to safely handle your hot Bundt pan after baking.
For optimal results, pair your chosen fat with flour or cocoa powder—particularly with dark batters—to create a barrier that minimizes white residue and sticking. Shortening is ideal for highly decorative molds, butter enhances flavor for simpler pans, and oil can speed up the process when precision brushing is used. When working with high-sugar batters, a stable fat like shortening is essential to prevent sticking and ensure easy release. Using hand mixer attachments designed for smooth blending can help ensure your batter is uniformly mixed, reducing the risk of trapped air pockets that contribute to sticking in intricate pans.

Make adorable personal-sized Bundt cakes. Great for brownies, cakes, muffins and cereal treats.

12-Cavity Mini Cake Design – This set includes two mini cake pans for baking, each pan features 12 fluted cavities, perfect for making evenly shaped mini cakes for home baking, parties, and holidays
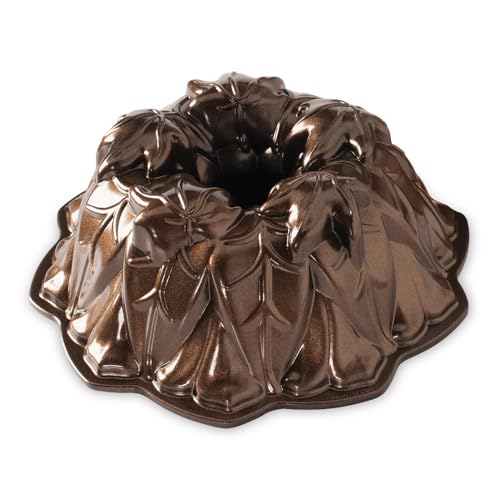
Cast aluminum provides superior baking performance
Coat Every Nook, Cranny, and Center Tube
To coat the center tube effectively, start by brushing a thin layer of fat along its full height before working outward. Use a pastry brush to reach every flute, ridge, and decorative impression, ensuring complete coverage. Short, controlled strokes help prevent excess fat pooling in low spots. Work systematically around the pan, section by section, paying attention to the bottom interior, side walls, and upper rim—it all matters for a thorough coating. Even if your pan is nonstick, a detailed layer of fat improves release. For flavor variations, consider brushing with melted butter instead of shortening. Apply just enough to create an even, thin coating, avoiding thick patches that could interfere with the dry coating process. If you were using a microwave-safe bowl instead of a metal pan, you should verify that the bowl is rated for microwave use, as KitchenAid mixing bowls are generally not safe for that appliance. Once you finish greasing, inspect the pan under light and rotate it to spot any bare metal. Touch up those areas immediately. After the entire interior is coated, add your batter promptly to keep the release layer fresh and effective. For sourdough bread, a heavy-gauge metal pan provides even heat distribution and superior browning. After greasing, tap out excess flour to prevent a thick coating that would compromise the release. A properly greased pan also helps maintain everyday baking results by preventing stuck cake pieces from tearing the finished surface.

3-in-1 tool: includes angled brush, a flat scraper, and pointed pick for hard to reach spots on intricately detailed pans
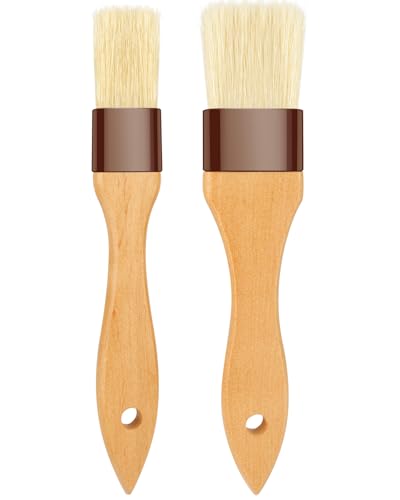
Quality Food Grade Materials: these oil and butter brushes are made of natural boar bristles retaining softness and pliability better than synthetics;Unlike other pastry brushes, the bristles will not break or shed in your food, more healthy
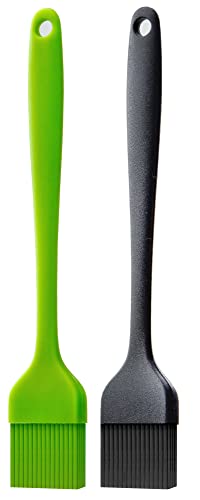
BPA FREE silicone brush.
Why a Dry Coating Makes or Breaks Your Cake Release
Applying a dry coating—flour or a flour-based release—is crucial for a clean cake release. This thin, even layer fills microscopic gaps in the pan’s surface, preventing batter sugars and eggs from bonding directly to the metal. Without it, your cake can stick, tearing uneven sections and leaving a ragged surface that ruins the texture. The key is to use just enough—excess flour can leave white streaks or clumps, which impair the appearance of your finished cake. Tap out any surplus so only a light, uniform film remains. Properly coated pans ensure that your cake releases smoothly after a brief cooling period. Additionally, a good dry coating enhances flavor by supporting a crisp, intact crust, making every slice clean and appealing. Missing spots around the center tube or deep ridges often leads to sticking, so thorough coverage is essential for perfect results. Using a precision food scale can help you measure dry ingredients like flour with exact consistency, avoiding the clumps and streaks that ruin a cake’s smooth release. A clean pan surface requires baking soda and vinegar to dissolve stubborn residue before you apply any coating. For even coverage on intricate pans, a KitchenAid mixer attachment can help you blend dry ingredients like flour and cocoa into a consistent, lump-free coating mixture.

Premium Cake Pan: The Gold Fluted Tube Cake Pan offers professional-level results; it measures 9.49 inches in diameter and 3.37 inches deep

The original beloved Bundt design from the early 50's bakes elegant, picture-perfect cakes with ease in a shape loved by millions

FLUTED CAKE PAN: 10 in. fluted-tube Fluted Cake Pan for cakes and other desserts
How to Apply Baking Spray the Right Way
Hold the can 8 to 10 inches from the pan when applying a flour-based baking spray like Baker’s Joy or Pam for Baking. Use short bursts in a sweeping motion to evenly coat all surfaces, including the center tube, sides, bottom, and decorative grooves. Rotating the pan as you spray helps you reach intricate flutes and deep ridges, which require extra attention similar to smoothing fondant. Aim for a light, even coat—drenching the pan can cause pooling, which is hard to correct. If you notice excess spray, gently brush it out with a pastry brush to prevent clumps. Apply the spray immediately before pouring in your batter, as timing significantly impacts how well your cake releases. Avoid plain cooking sprays that leave sticky residue; flour-based sprays ensure a clean release and reduce the need for extra dusting. Properly prepping your pan with the right spray preserves the texture and flavor of your baked goods. This method is more effective than lining with aluminum foil, which can tear and leave wrinkles that disrupt the cake’s shape. For best coverage, hold the can at the correct distance of 8 to 10 inches, as measured in the technique for using baking spray. Unlike OXO mixing bowls, which are designed to withstand oven-safe temperatures up to their specific heat limits, baking sprays are not intended for use in pans that will be exposed to direct high heat without a batter buffer.

Fat-free cooking spray, 5 ounces

Pam Baking Non-Stick Cooking Spray

Includes One Can of Each Size. 12 Ounce and 5 Ounce
Why Greasing Too Early Causes Sticking
Greasing too early causes fat migration, which leads to sticking. If you apply the coating before your batter is ready and the oven is preheated, the soft fat begins to flow and is pulled downward by gravity. This pooling at the bottom leaves the intricate ridges, flutes, and center tube undercoated while the dry spots on the sides bond directly with the batter. As a result, the cake is more likely to stick or break when removed. To avoid this, wait until your batter is prepared and the oven is preheated before applying a thin, even layer of baking spray. Doing so keeps the coating fresh and uniform, ensuring the delicate details of your pan remain protected. Using a set of Pyrex mixing bowls can help you properly time and prepare your batter before greasing. Acting quickly after greasing will help prevent the formation of dry spots that cause sticking, giving your cake an even release and a smooth finish. Choosing the right tea loaf pan with a nonstick surface can also improve release and simplify cleanup. For intricate designs, selecting the appropriate Wilton piping tips can further enhance your cake’s decorative finish.
Tap Excess Coating Out of Your Bundt Pan
To tap excess coating out of your bundt pan, invert the pan over a sink or trash can and tap briskly but gently. Rotate the pan to ensure every ridge and curve gets clear of loose flour or other coating. Stop once the coating is barely visible; a heavy layer can affect cake texture and leave a dusty finish that complicates decorating. This step helps prevent uneven release and ensures a smooth, professional-looking dessert.
Use this opportunity to inspect for bare spots. If you see any areas lacking coating, reapply and tap again to evenly distribute. Match your coating to your cake’s flavor—cocoa powder works well for chocolate cakes to prevent white residue. Keep the dusting thin and consistent to support proper release and avoid patchiness, especially at high baking temperatures.
Don’t skip this final check because leftover loose flour can separate from the grease layer during baking, causing sticking. Focus on achieving a uniform, light coating rather than buildup, which ensures effortless removal and flawless results every time.
Why You Must Let the Cake Cool Before Unmolding
Let the cake cool in its pan for 10 to 15 minutes before unmolding. This short cooling period is crucial because it allows the cake’s internal structure to set and become firmer. Right after baking, the crumb is still fragile, and flipping it out immediately risks breaking or damaging the shape, even if the pan was well-prepared. Giving it a moment to rest helps the interior stabilize, ensuring the cake maintains its decorative ridges, curves, and overall form. Waiting too long increases the risk of sticking to the pan. For best results, ensure your pan has a reliable nonstick coating to complement the cooling technique.
However, do not let it cool completely in the pan. Cooling too long causes the cake to cling to the sides more tightly, making release much harder. Proper preparation, such as using butter and flour or a baking spray with flour, creates a nonstick barrier that works with the pan’s surface. The ideal timing strikes a balance: the cake should be firm enough to hold its shape but still warm enough to slide out smoothly. This way, you avoid shearing or damaging the details and edges. Once unmolded, transfer the cake onto a wire rack and let it cool for about an hour before applying icing or slicing.
Fix Stuck Cake Without Ruining the Whole Thing
To fix a stuck cake without ruining it, start by loosening the pan with steam. Drape a hot, damp towel over the pan for 10 to 15 minutes, which helps warm the walls evenly. This softens the edges of the cake and makes it easier to release. Use a rubber spatula to gently loosen the edges and center tube, moving slowly to avoid tearing the cake. After loosening, invert the pan onto a plate and tap gently; if the cake stays put, set it aside for a moment. A quick dip in warm water can also help soften the grip, but keep the water controlled so you don’t affect the cake’s texture. If the cake cracks during removal, consider it an opportunity for creative decorating—glaze or frosting can easily hide those flaws. Once the cake is out, focus on proper pan storage to prevent sticking in future bakes. Always protect the cake with a dry towel during steaming, and use potholders to handle the hot pan safely. Allow the cake to rest inverted for about 10 minutes before attempting removal, as this patience helps loosen it naturally.
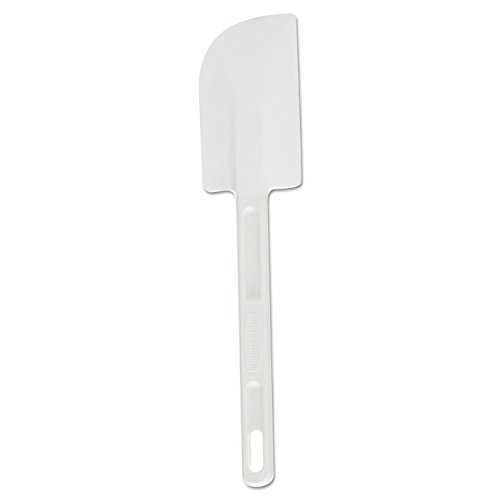
HIGH HEAT RESISTANT: Resists heat up to 500 degrees F or 250 degrees C
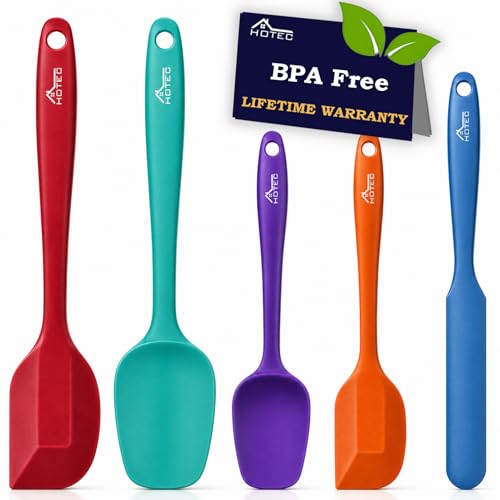
HIGH QUALITY FOOD GRADE MATERIAL: 100% made of Food Grade Silicone Material that is BPA-Free, lead free, and odorless. Smooth flexible thin edges prevent scratches and damage to your pots and pans during use
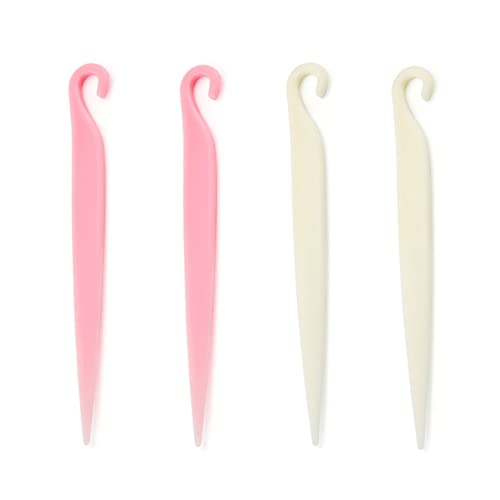
Package Contents: 4 X Cake Stripping Knife(white+pink)
Clean Your Bundt Pan So It’s Ready for Next Time
After rescuing your cake, cleaning your bundt pan immediately is essential to maintain its nonstick coating and prevent residue buildup. First, let the pan cool completely before rinsing loose crumbs with warm water. Fill the pan with warm, soapy water and let it soak for about five minutes; if leftover residue is stubborn, soak for 15 to 20 minutes. Use a soft-bristled brush or a nylon sponge to reach decorative grooves and tight crevices. A soft toothbrush can be especially effective for cleaning intricate details. For tough spots, sprinkle baking soda directly onto the area or make a paste with water, then let it sit overnight to loosen stubborn grime. Avoid metal scrubbers, as they can scratch or damage nonstick surfaces. Rinse thoroughly, dry the pan completely with a towel, and only store it once it is fully dry to prevent rusting or damage. Proper hand washing and careful drying will ensure your bundt pan stays in great condition and ready for your next baking adventure.