

Wondering how to make a sturdy, food-safe rolling pin at home without special tools? You can craft one yourself using simple materials like maple and a few basic hand tools.
This easy project will give you a durable kitchen tool perfect for rolling out dough smoothly.
Keep reading for a step-by-step approach that makes building your own rolling pin straightforward and satisfying.
3 Reasons to Build Your Own Hardwood Rolling Pin
Hardwood makes the best choice for building your own rolling pin because it offers durability that outlasts softwoods and plastics. Materials like maple and cherry resist wear and tear for decades, and you can easily sand and refinish the surface when it begins to show signs of wear. This means your handmade pin will stay functional and attractive for years, reducing the need for replacements. Selecting a wood like maple or cherry ensures your rolling pin works well alongside a precise kitchen scale for consistent dough measurements. For truly versatile dough preparation, you can even use a smaller hardwood pin to work in tandem with top mixer attachments for efficient batch processing.
Additionally, hardwood provides a natural grip and warmth that improves dough control. The textured surface helps you manage pressure more comfortably and spread dough evenly with less effort. This tactile benefit makes your baking process smoother and more precise. For those seeking reliable tools, top rated food scale models offer similar precision in weight measurement.
Hardwood’s closed-grain structure also reduces sticking. This feature allows you to work with sticky doughs more cleanly, requiring less flour to prevent sticking while preserving the dough’s texture.
Finally, building your own pin offers aesthetic flexibility. You can add decorative accents like custom handles or carvings, blending form with function. It’s a sustainable, repairable tool tailored exactly to your baking style, with the added satisfaction of creating a personalized kitchen piece.
What’s the Best Wood for a Food-Safe DIY Rolling Pin?
Maple is the best wood for a food-safe DIY rolling pin because it is dense, fine-grained, and stable. These qualities make it ideal for repeated dough work without warping or cracking. Its smooth surface releases dough easily, reducing sticking and sticking-related frustrations. Additionally, maple‘s moderate weight provides good control during rolling without causing fatigue. Always choose kiln-dried hardwood to ensure stability and longevity. Finish with food-safe mineral oil or beeswax to protect the wood and keep it food-safe. Avoid open-pored woods like oak or ash, as they can trap food particles and harbor bacteria. For heavy doughs, bowl lift mixers offer greater stability and power for kneading, which parallels the control needed for rolling. Walnut can work when properly finished, but some prefer to avoid it due to concerns about natural extractives. For those seeking a durable alternative, a food scale offers precise measurement for consistent dough results. For similar precision and durability in a food-safe tool, consider the KitchenAid mixer Professional 5 Plus as a top-rated option for heavy-duty dough preparation.
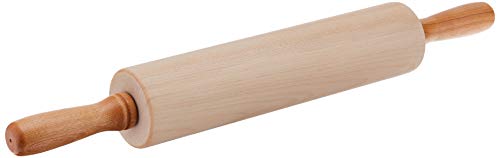
MEASURES 12-Inch by 2-3/4-Inch by 3-Inch, J K Adams Medium Gourmet Rolling Pin

French Tapered Rolling Pin: Hardwood baking tool designed for rolling delicate pastry dough, flattening flaky pie crusts, and providing smooth pivot control for professional or home bakers

FRENCH ROLLING PIN: French-style wooden rolling pin for precision baking; tapered design offers superior control for pizza, pie, and pastry dough
How to Shape a DIY Rolling Pin Without a Lathe
Start by clamping your square hardwood blank securely. Mark the centerline and taper zones, then transfer the end diameters using a washer or template. Use a handsaw or hatchet to cut off the corners, converting the square into an octagon. Work from the ends toward the center to create that tapered French-pin silhouette. To minimize tear-out, keep the wood grain straight and free of defects. An oscillating portable sander fixed to a benchtop can speed up rough shaping significantly. For an even faster and more consistent finish, you can adapt Hamilton Beach stand mixer attachments to power-sand the tapered surfaces. Understanding the material reactivity of your wooden rolling pin is important because acidic doughs can interact with certain bakeware surfaces. For precise measurement of dough ingredients, a digital kitchen scale is a reliable tool to ensure consistent results.
Refine the shape with a rasp or drawknife. Carefully remove the facet edges by periodically rotating the piece and rolling it on a flat surface to identify high points. Aim for symmetry so the rolling pin tracks evenly during use. Finish by sanding with the grain, starting at 80 grit and progressing up to 600 grit for a smooth, polished surface. Smoothly round the ends to avoid sharp edges, ensuring there’s no need for a lathe.
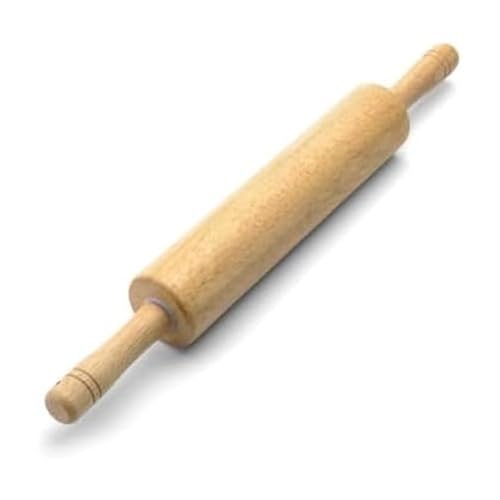
PREMIUM HARDWOOD CONSTRUCTION: Built from moisture-resistant hardwood that delivers a smooth, non-dragging rolling surface for consistent results every time; the 10-inch barrel and balanced weight distribution make rolling all types of dough effortless

PREMIUM BEECH WOOD CRAFTSMANSHIP – Expertly made from solid, moisture-resistant beech wood, this wooden rolling pin is durable and smooth. The classic design with handles ensures comfort and control while rolling dough for bread, pizza, cookies, pies, pastries, and pasta. A must-have among rolling pins for baking.
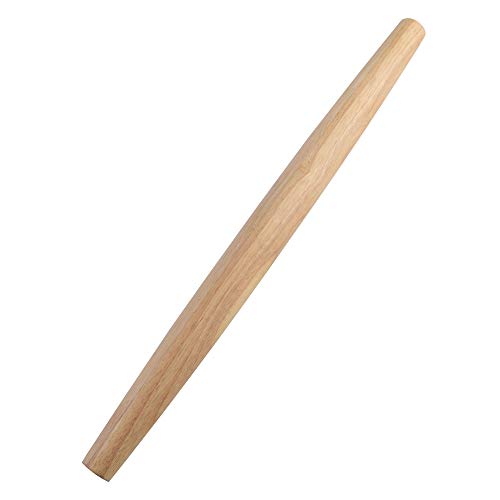
Solid Wood Construction: This rolling pin is made from solid rubber wood for required durability and long-lasting use. This rolling pin is suitable to sustain every day, heavy-duty use in the home, as well as restaurants.
How to Turn a DIY Rolling Pin on a Lathe (French-Style)
Mount the hardwood blank between centers on your lathe, then mark centers on both ends before turning. Check the grain orientation to ensure it runs straight along the length for stability during shaping. Set the lathe to around 1,200 RPM for smooth, controlled cutting. Use a roughing gouge to create a uniform cylinder, focusing first on the center section. Then, taper each end gently toward the waste areas, keeping the thickest part at the middle to maintain the French-style handle-free design. Before cutting off the ends, use a parting tool to neck them down slightly, ensuring they are balanced. When using a hardwood blank, a lined baking sheet underneath the lathe can catch wood shavings and simplify cleanup. This process results in a perfectly balanced rolling pin with a smooth surface, ready for finishing. For added decorative effect, incorporate a veneer pattern by gluing maple and mahogany layers into the center of the blank before turning. When selecting a lathe speed, remember that mixing attachments can influence the torque and control needed for larger blanks. The balancing technique here parallels how a well-weighted mixer motor ensures stable performance during heavy dough work.

High speed steel resists "blued" softening from overheating
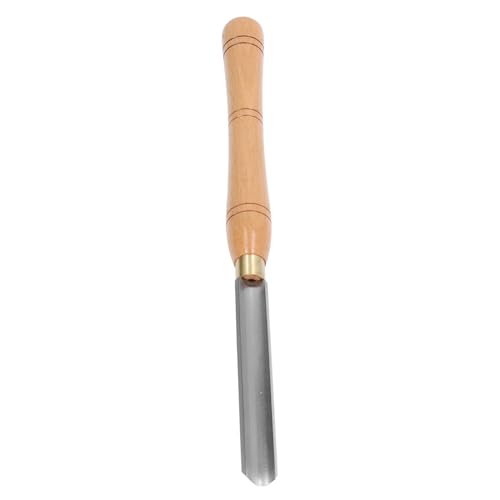
Broad Utility: Has high work efficiency, the woodworking turning tool also suits perfectly for manual operation. A great choice for you

Premium 4341 HSS Steel Blade:Made of 4341 high-speed steel with hardness HRC 58-62. Maintains sharp cutting edge and delivers great durability for continuous wood turning work.
How to Sand and Finish for a Smooth, Non-Stick Surface
Start by sanding the turned surface with 120-grit coarse paper to remove tool marks and shape imperfections. Progressively move through 220, 320, and 400-grit finer papers to achieve a glass-like, smooth finish. Between each grits, raise the grain by lightly wetting the wood with a damp cloth, allowing it to dry completely, and then sanding again. This step helps knock down fuzz and highlights grain orientation. When finished, wipe the entire surface with a tack cloth to remove all dust particles before applying any finish. However, never assume that cooking tools treated with standard finishes are truly heat resistant like specialized black cooking gloves, which are tested for high-temperature safety. For a rolling pin used for baking, consider storing it in a mini loaf pan with lid to keep the surface clean and protected from dust. This process achieves a durable, lightweight surface similar to solid beech wood, preferred for cooking. For baking tasks, an unfinished wooden rolling pin works best with half sheet pans to avoid transferring any finish to the dough.

[IN THE BOX]: 1 each Pro-Graad 50 piece Zirconia Abrasive Sanding Cartridge Spiral Roll Sander Kit. Kit includes: 1/2" x 1-1/2" Cylinder Shape Rolls 80 Grit 8Pcs, 1/2" x 1-1/2" Cylinder Shape Rolls 100 Grit 8Pcs, 1/2" x 1-1/2" Cylinder Shape Rolls 120 Grit 8Pcs, 1/2" x 1-1/2" x 1/2" Cone Shape Rolls 80 Grit 8Pcs, 1/2" x 1-1/2" x 1/2" Cone Shape Rolls 100 Grit 8Pcs, 1/2" x 1-1/2" x 1/2" Cone Shape Rolls 120 Grit 8Pcs, 1/4" Shank x 3-1/2" Length Mounting Mandrel 2Pcs

5 Sizes to Meet Your Needs: the mud stick guide measures about 15.8 x 0.8 inches/ 40 x 2 cm, and there are 5 different thickness sizes, namely 0.12 inch, 0.2 inch, 0.28 inch and 0.39 inch, 0.47 inch; You can choose the appropriate size according to your needs
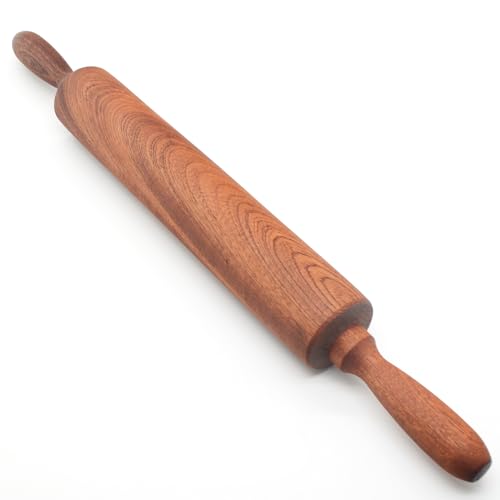
PREMIUM SAPELE WOOD ROLLING PIN: Crafted from Sapele hardwood—known for its dense grain and rich color variations, a naturally stable wood that resists warping in humid environments—this wooden rolling pin delivers exceptional durability and an ultra-smooth rolling surface. The balanced weight design ensures effortless rolling for pizza dough, pie crusts, and cookie dough, giving you consistent, even results every time.