

Got a silicone baking mat that’s looking a little grimy? Cleaning it might seem straightforward, but knowing the best way to keep it fresh and odor-free can be tricky.
With the right steps, you can easily remove residue, stains, and odors, keeping your mat in top shape. Keep reading to learn simple techniques for a spotless, well-maintained baking surface.
Why Your Silicone Baking Mat Gets Sticky (And How to Prevent It)
Repeated use with oils, sugars, or harsh detergents causes your silicone baking mat to become sticky over time. This tacky feeling results from oil buildup, where cooking fats absorb into the mat’s micro-texture, especially after roasting oily foods like bacon or vegetables. When exposed to high heat, these oils polymerize and bond more tightly to the surface, making it difficult to clean. Sugar residues from batters, glazes, or melted chocolate can also leave a sticky film; caramelized sugar feels tacky even if the surface looks clean. To prevent this, limit heavy oil exposure and avoid letting grease sit on the mat for long periods. Repeatedly baking sugary recipes without thoroughly deep cleaning can also contribute to stickiness. Choosing high-quality, food-grade silicone will help reduce absorption and keep your mat nonstick longer. Silicone mats are similar to flexible loaf pans in that they require careful handling to avoid sticking issues. For heavily soiled mats, using a roasting pan with a rack can help lift food away from the surface during cooking. For baked-on residue, soaking the mat in warm, soapy water before scrubbing is the most effective method to loosen stubborn particles without damaging the silicone.
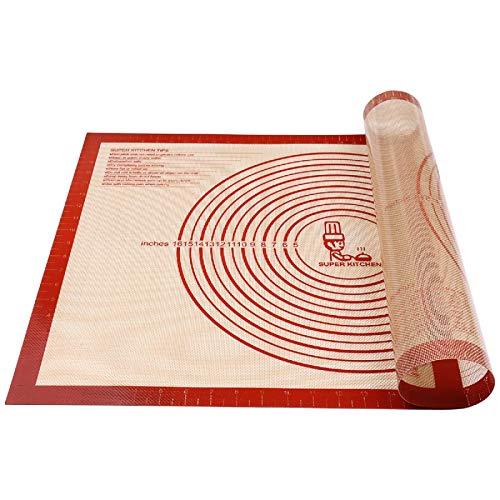
Premium Safe Silicone:We attach great importance to the health of our customers.So we offer the premium food grade silicone to pretect your safe.

Best German Silicone: We attach great importance to the health of our customers. Therefore, we use the best German WACKER silicone as the raw material in the industry. Food Grade, BPA Free, PFOA Free, Non-toxic. NOT made in Germany.

Baking mat (4-pack) for easy and convenient baking, roasting, or food prep
The Fast Way to Clean Your Mat After Every Bake
Once your silicone baking mat has cooled, cleaning it is quick and straightforward. First, shake off any loose crumbs over the trash. Then, wipe the surface gently with a soft cloth to remove remaining debris. Next, wash both sides under warm running water with a small amount of mild dish soap. Use gentle circular motions to lift baked-on residue without damaging the material. Rinse thoroughly until the water runs clear, paying special attention to the edges to ensure all soap is removed. After cleaning, dry the mat completely with a clean dish towel or hang it flat to air-dry. Fully drying both sides prevents mold and keeps your mat in top condition for next time. Proper storage is essential: make sure the mat is completely dry before rolling or stacking, as moisture can lead to mildew growth. For precise baking, a food scale ensures your ingredients are measured accurately every time. Unlike a standard sheet pan, a silicone mat can be flexed and wiped clean without the risk of scratching, making it a more durable alternative to metal bakeware for everyday use. While cleaning, you might consider using a KitchenAid mixer attachment like a dough hook for perfectly mixed batters.
How to Fix a Greasy, Stubborn Residue
To remove a greasy, stubborn residue from your silicone baking mat, follow these targeted cleaning steps. Start with a grease-cutting wash using warm water and mild dish soap. Scrub both sides thoroughly, paying special attention to textured areas and edges where oil tends to collect. Rinse completely and dry the mat well.
If the slickness persists, apply a paste made from baking soda and water directly to greasy spots. Allow it to sit for 10 to 20 minutes to break down the oil. Use a soft-bristled brush to gently scrub these areas, then rinse thoroughly. For more stubborn residue, soak the mat in hot water mixed with vinegar for 10 to 15 minutes. After soaking, gently scrub again and rinse well. Repeat this process if needed.
Avoid using steel wool or harsh chemicals to protect the silicone surface. Stop cleaning only when the mat feels clean and free of oily or sticky residue. For optimal results, consider using a Hamilton Beach stand mixer with a dough hook attachment to thoroughly knead and distribute the cleaning paste onto the mat.

Unique bristle design won’t retain odors or clump during cleaning
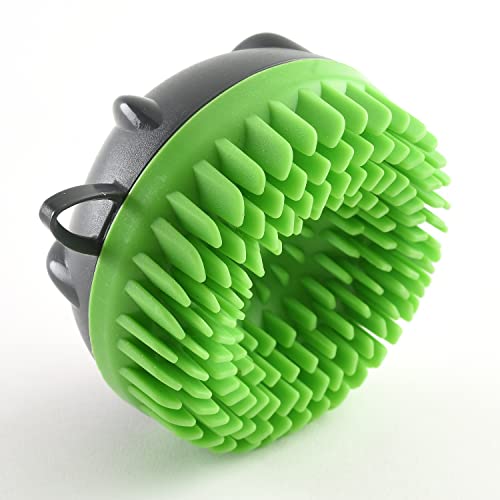
Silicone brush won't harbor bacteria and lasts longer than other brushes! Easy grip for efficient cleaning.

【100% Food Grade Silicone Mat】Crafted with ultra-durable safe, food-grade material, BPA-free, and odorless, 0.7MM thickness withstands years of baking sessions. Our silicone baking liner sheet is also safe in -40℉ to 480℉ and is perfect for dishwashers ovens microwaves freezers
Deep Clean a Sticky, Smelly Silicone Baking Mat
A deep clean is necessary when your silicone baking mat becomes sticky or smelly. To tackle baked-on oils, burnt sugars, or trapped detergent residues, you should start with a baking soda paste. Mix equal parts baking soda and water to form a thick paste, then spread it evenly over the entire mat. Let it sit for about 30 minutes to soften stubborn residues. Gently scrub the surface with a soft sponge, applying light pressure to avoid damaging the silicone. Rinse thoroughly with warm water to remove all baking soda remnants. For particularly tough messes, the top roasting racks in the market ensure even heat distribution, which helps prevent future residue buildup.
For lingering odors, soak the mat in a solution of equal parts white vinegar and warm water for 15 minutes. This helps lift residual oils and neutralize trapped smells. If any burnt or smoky odors persist, heat the mat in a preheated oven set to 350°F (175°C) until it stops producing smoke, which usually takes a few minutes. Remove it immediately and wash with hot, soapy water to prevent any lingering smells or damage. Always dry the mat completely before storing to prevent future stickiness caused by trapped moisture. For tough baked-on residues, using a baking sheet pan with rack provides better airflow and prevents direct contact with burnt sugars. For a professional-grade solution to sticky residues, consider pairing the mat with a KitchenAid ice cream attachment to effortlessly churn frozen treats after cleaning.
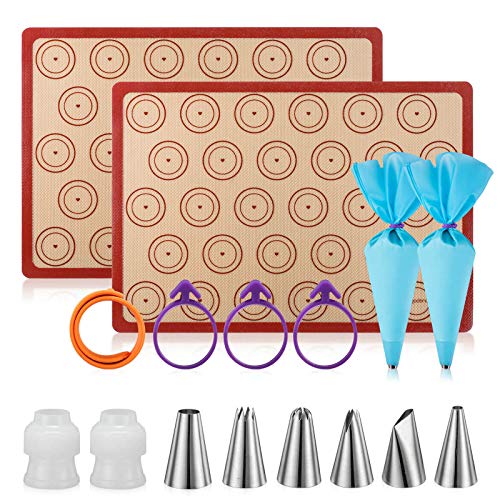
【SILICONE BAKING MAT NON-STICK EASY CLEAN-UP】-No more scraping!Nonstick surface allows for effortless food removal without waste. Even burnt sugar and fat falls off on its on,just simply wash the baking mats by hand or rinse in warm soapy water and allow to air dry, or place in dishwasher (top rack only).The silicone baking mats are a baker's dream at save time cleaning up,preventing a messy oven,dirty pan.Save on baking sheets&pans!Macaron mat measures 11.6"x 16.5" fit for 13” x 18” baking pan.

Premium Silicone Bakig Mat: Our kitchen baking mat is crafted with 100% food grade silicone. With 0.7mm thickness reinforced design (2x thicker than standard 0.3mm mats) can withstand daily kneading sourdough, rolling pizza dough, and shaping sticky fondant without warping or degradation

Perfect Fit for Half Sheet Pans: Sized at 16.54" x 11.62", these reusable silicone baking mats fit all standard half sheet trays. Ideal for baking cookies, bread, pastries, or roasting vegetables — no parchment paper or foil needed.
Mistakes That Ruin Silicone Mats (And What to Do Instead)
Using knives or pizza cutters is a common mistake that can severely damage your silicone mat. These tools tear the silicone surface and expose the fiberglass reinforcement inside, compromising the mat’s integrity and safety. Instead, always transfer food to a cutting board before slicing or chopping. This simple step prevents cuts and tears, ensuring your silicone mat lasts longer and remains safe for food contact. If you notice deep cuts or tears, don’t attempt to patch the damage; replace the mat immediately to avoid potential hazards. Proper cutting habits protect your silicone mat and maintain its non-stick qualities.