

Using a springform pan might seem tricky at first, but once you get the hang of it, it’s an easy way to make clean, professional-looking desserts like cheesecakes and tarts.
The key is in the assembly and handling, ensuring your baked goods come out intact and leak-free.
With a few simple steps, you’ll be able to use your pan confidently and effortlessly.
The full process is below to guide you through each stage.
Why You Reach for a Springform Pan First
You grab a springform pan first because it allows you to remove delicate desserts cleanly without flipping or jarring them. The pan’s heavy-gauge steel construction provides stability during baking, while the removable side wall makes transferring your creation effortless. Once the sides are released, the dessert stays perfectly on the sturdy base, preventing any damage or cracks. This design is especially useful for desserts like cheesecakes, mousse cakes, or tall quiches that need gentle handling. Using a springform pan also protects soft or fragile toppings and fillings, since you don’t need to invert the cake or pie to release it. The seamless removal ensures your dessert’s presentation remains flawless, with no broken edges or crusts. Additionally, it keeps delicate structures intact, making your finished dish look more professional. The ease of releasing the sides and base means less stress during serving and a higher quality result overall. Properly placing the pan on a cooling rack allows for air circulation that prevents a soggy bottom and ensures even cooling. For more stable mixing of dense batters, using a KitchenAid mixer with a springform pan recipe helps achieve a smoother, lump-free filling. To keep the pan’s surface residue-free after baking, hand-washing with mild soap and warm water is gentler than abrasive scrubbing.

TOXIN-FREE & DURABLE 304 STAINLESS STEEL - Crafted with food-grade 304 stainless steel, the springform pan resists rust, deformation, and corrosion for lifelong use. Oven safe up to 500°F, pressure cooker compatible, and multiple baking options for you to choose from
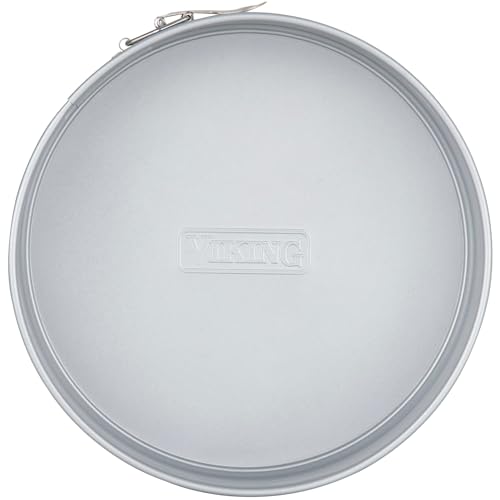
PROFESSIONAL SPRINGFORM PAN: Upgrade your kitchen with Viking's springform cake pan; ideal for cheesecakes, tortes, deep dish pizzas and more

Fat Daddio's Original Spring Form Pan
How to Assemble Your Springform Pan for a Leak-Free Bake
To ensure your springform pan doesn’t leak during baking, proper assembly is essential. First, check that the ring and base fit snugly. The base should sit flat inside the ring groove without any gaps. Close the latch fully, then run your fingertip along the seam to feel for uneven spots. Lock the latch securely but avoid over-tightening, as this can deform the parts. Gently shake the assembled pan to test its stability—if it wobbles, recheck the fit.
For alternative sealing, line the base with parchment paper before attaching the ring. Ensure the parchment extends slightly beyond the edge of the base, then trim the excess after securing the ring. Keep the parchment smooth to prevent leak paths. If the fit feels uneven or loose, reopen the latch and adjust the ring, then close it again firmly.
Before baking your final product, perform a leak test by adding a small amount of water into the pan. Observe for any leaks around the seam. Reassemble and tighten the latch if moisture escapes, ensuring a leak-free bake every time. For precision in measuring ingredients, using a set of measuring cups with spoons can help maintain accurate ratios for your batter. For even more accuracy, consider using a food scale to weigh ingredients for consistent results. Note that while Pyrex measuring cups can handle moderate temperature changes, they are not designed for extreme thermal shifts, so always allow them to cool before washing to avoid damage.

This 9 inch springform pan accommodates standard size recipes
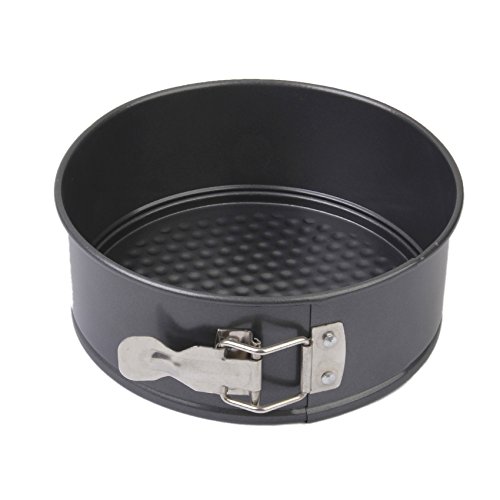
8 inch circular spring form pan made of heavy gauge carbon coated steel

High Quality Springform Pan 9 Inch Nonstick - Leakproof springform pan set comes with 1pcs 9 inch springform pan, 1pcs cheesecake pan protector for water bath and 50pcs pre-cut parchment paper. The spring form pan for cheesecake is ideal for making cheese cake, yogurt cake, mousse, coffee cake, lasagna, quiche, paella, cookies and any similar recipes, and the spring pans for baking cheesecake also makes a great and practical gift for your friends.
Fill the Pan Without Spills or Leaks
To fill the pan without spills or leaks, start by keeping the outer base clean. Place the pan on a stable, rimmed baking sheet located on a level counter to catch any overflow. Before adding batter, inspect the inner rim for old batter residue or warping, which can compromise the seal. Ensure the latch is fully closed and secure to prevent leaks. Avoid cutting silicone baking mats, as doing so can damage them and create unsafe edges in the oven. Wipe away any stray batter from the latch area immediately to avoid drips during transport. When moving the filled pan, carry it with two hands to keep the batter level and only move it after the batter has settled, reducing the risk of spills and maintaining a clean workspace. For heavy batters, consider using a bowl lift mixer to ensure thorough mixing without strain.

♥ Less stress & Mess Free: Silicone baking mat make you Spring form Pan clean like new each time. Less your Stress and Mess Free

♥ Less stress & Mess Free: Silicone baking mat make you Spring form Pan clean like new each time. Less your Stress and Mess Free

Versatile Size Options: this comprehensive set includes round silicone baking mats and long strip edge baking mats in 3 sizes, suitable for an array of baking needs; With diameters of 6, 8, and 10 inches and strips measuring 19.7, 25.6, 32.3 inches in length, you can seamlessly adapt to different springform cake pan sizes, enhancing your baking creativity
Baking Tips: Water Baths With a Springform Pan
To prevent leaks during a water bath, you need to create multiple barriers since springform pans aren’t truly watertight. First, wrap the exterior of the pan tightly with heavy-duty aluminum foil, doubling the layers for added protection. Crimp the foil firmly against the surface to minimize seepage points. To further block moisture, place the springform inside a slightly larger cake pan before setting it into the water bath. This extra layer helps keep water away from the latch and seams. When setting up, put the pan in a larger roasting pan first, then pour hot water into the roasting pan until it reaches about halfway up the sides of the springform. Be careful to avoid splashing. Before baking, test your setup by filling the pan with water, then line the bottom with parchment paper to help improve the seal and prevent leaks. For organizing your bakeware, adopting simple storage habits like keeping your springform pan and its attachments together in a dedicated container can help maintain their condition and prevent damage.

Large Size: 10 inches silicone pan , large enough to fit 9 Inches or 9.5 inches round springform pan with a clasp. Not suitable for 10 inch springform pan

The Wrap comes in 3 sizes, PLEASE MEASURE your pan across the outside bottom middle of springform pan. The Wrap does not need to be snug to be effective.

Large Size: 10 inches silicone pan , large enough to fit 9 Inches or 9.5inches round springform pan with a clasp. NOT suitable for 10 inches springform pan
Cool Your Springform Pan Before Removing the Ring
After removing your cheesecake or cake from the oven, do not open the latch immediately. Let it cool inside the springform pan for at least one hour at room temperature while the latch remains engaged. This initial cooling helps set the structure and reduces sticking, making it easier to release later. For thicker or denser desserts, you’ll need an additional one to two hours of cooling until completely cool. Once cooled, transfer the pan to the refrigerator for overnight chilling. This step firms the dessert, making it firm enough to unmold without damage. Do not remove the ring until the dessert feels fully set and resists slight pressure. Proper cooling will also make cleaning easier later, as less residue adheres to the sides. During chilling, keep the ring loosely attached to protect the edges and facilitate a smooth release. Unlike a baking sheet, a springform pan has removable sides that require careful handling to avoid leaks. However, always use silicone oven mitts to handle the hot pan safely, as they provide reliable heat protection up to their material limits. For best results, avoid common mistakes like removing the ring too early, which can cause cracking or sticking.
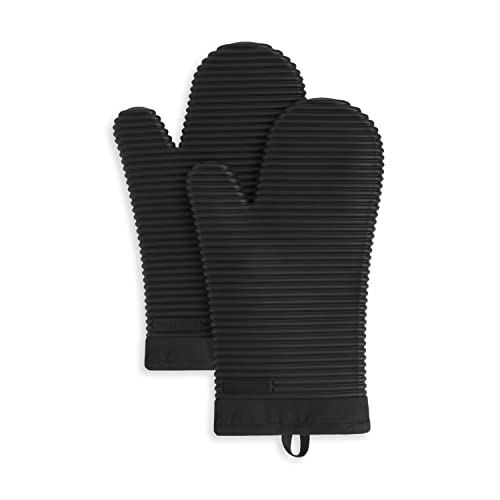
DURABLE, HEAT RESISTANT SILICONE: The KitchenAid Ribbed Soft Silicone Oven Mitts are heat resistant up to 500 degrees Fahrenheit to safely shield hands from the heat while cooking and handling hot pans and dishes.

ULTRA HEAT RESISTANT: Built to withstand temperatures up to 500°F, our silicone oven mitts provide reliable protection for cooking, baking, grilling, and roasting. Use them to safely manage hot cookware, cast iron pans, and baking sheets. The extended length protects hands and wrists from flare-ups or accidental burns, making them the best choice for both home kitchens and professional use.

Silicone oven mitts that are thick heat resistant potholders made from premium food grade material; Mittens are rated to protect you from heat up to 446℉(230℃) ; High quality mini mitt set helps you to grip hot items safely in your kitchen or at your outdoor barbecue; this mighty duo are the ultimate kitchen accessory.
Pop the Ring Off Cleanly: No Cracks, No Crumbs
To pop the ring off cleanly without cracks or crumbs, start by gently releasing the latch—slowly unclip it so the ring opens without tugging the cake surface. Keep the ring aligned as it opens to avoid pulling crumbs from the sides; avoid yanking it outward. For crust preservation, loosen the inner edge first with a thin knife or offset spatula, keeping the blade vertical against the pan wall. Go around the perimeter more than once if needed for full edge maintenance. Lift the ring straight up while holding the base steady, raising it slowly to prevent brushing the cake’s sides. If resistance appears, pause and free the stuck spot before continuing. Use a nonsharp tool to avoid scraping crumbs into the surface. A straight, patient lift results in a clean, crack-free removal. For consistent results, you can also refer to accurate food scales to portion cakes beforehand. For reliable mixing of batter, consider using a heavy-duty stand mixer like those reviewed in expert guides. After removal, soak the ring in hot soapy water to lift baked-on residue without scrubbing.