

Wondering if you can make monkey bread without a traditional Bundt pan? The answer is yes, and you have several options like a 9×13-inch dish, muffin tins, or even a skillet.
Each method brings a different texture and baking time, so you’ll want to fine-tune your approach. Keep reading to find out how to get perfect pull-apart results no matter what pan you choose.
Why You Don’t Actually Need a Bundt Pan for Monkey Bread
A Bundt pan is not required for making monkey bread. The traditional ring shape helps with even heat distribution and easy removal, but it’s not essential for the recipe. You can use various pans like a 9×13-inch baking dish to produce a flatter, more caramelized loaf or a muffin tin for quicker, individual portions. These alternatives still result in the signature sticky, pull-apart texture. Additionally, changing the pan shape offers more surface area for toppings like cinnamon and nuts, allowing you to get creative with decorations. As long as your pan is large enough and well greased, the core process—baking dough pieces in a sweet sauce—remains the same, regardless of shape. For superior results, a stainless steel bowl from a quality mixer can also double as a mixing and baking vessel. Focus on pan size and baking time more than on the specific type of pan to achieve delicious results. For cleanup, using a Silpat mat can help prevent baked-on residue and simplify washing. For even heat distribution in alternative pans, consider using a top roasting rack to elevate the dish and improve airflow.
Pan Substitutes for Monkey Bread (and How They Change It)
Swapping out a Bundt pan for other pans changes the presentation and texture of your monkey bread. Using a loaf pan results in a dense, sliced loaf that’s easy to serve in portions, but it loses the characteristic ring shape and airy texture of traditional monkey bread. A muffin tin creates individual, portable portions with crispy edges, making it ideal for parties or lunchboxes. These small, crusty pieces add a fun, bite-sized element but don’t have the same pull-apart appeal. Spreading the dough on a sheet pan produces a rustic, flatbaked treat with lots of surface area for browning, perfect for casual sharing or when you want a more traditional bread-like appearance. A skillet allows for deeply caramelized, spoonable clusters that boast a rustic look and rich flavor, though they may be less uniform. To preserve the classic ring-shaped, fluffy texture of monkey bread, use a tube pan or add a center mold to a standard cake pan. These options keep the central heat channel open, encouraging even baking and maintaining the familiar pull-apart experience. Using a precise food scale helps ensure consistent dough ingredients for any pan substitute you try. Choosing a mixer with a spiral dough hook can improve the dough’s elasticity and handling for any pan substitute you try. For optimal browning and heat distribution, consider a pan with a roasting rack that elevates the dough for better airflow.

Eco-friendly Granite Nonstick Material: Nonstick granite material. Less oil needed & less smoke released, our frying pan provides your daily cooking always safer and healthier. Excellent non stick performance keeps food sliding smoothly along the surface for easy clean.

Eco-friendly Classic Granite: Non-stick Granite Material, PFOS,PFOA free, our cookware ensures your daily cooking is always safer and healthier.

A Kitchen Essential for Daily Use: Designed for versatility, this 10-inch omelette and fry pan is perfect for flipping fluffy omelettes, searing proteins, and everyday cooking needs in any kitchen.
How Bake Time Changes With Each Pan Type
Switching from a Bundt pan to another shape changes your baking time significantly. A standard 12-cup Bundt pan at 350°F takes about 28 to 35 minutes. If you switch to a loaf pan, expect a longer baking time of 35 to 45 minutes. A 9×13-inch pan, which is shallower, usually bakes faster—around 25 to 30 minutes. Muffin tins are the quickest; however, because sizes and depths vary, start checking your muffins after 15 to 20 minutes. Deeper pans require more baking time, while shallower pans tend to brown faster. Keep in mind, the volume of dough and thickness in the pan drive these baking times, not just the pan shape or size. Use visual cues such as a golden top and bubbling caramel, along with an internal temperature of at least 200°F, to determine doneness. For any pan, proper cooling time prevents the cake from sticking or breaking apart. Consistent bag pressure is key for mastering cupcake piping and ensuring even results across different pan types.

Meet Your Daily Needs: DOWAN larger and deeper ceramic baking dish measures 15.6"L x 9.3"W x 3.1" H (including handle size)-135 OZ, sized perfectly for cooking lasagna, casseroles, chicken, roast, bread, pasta, beef, and more. Whether you're cooking a family dinner or serving food, this versatile casserole dish has got you covered.
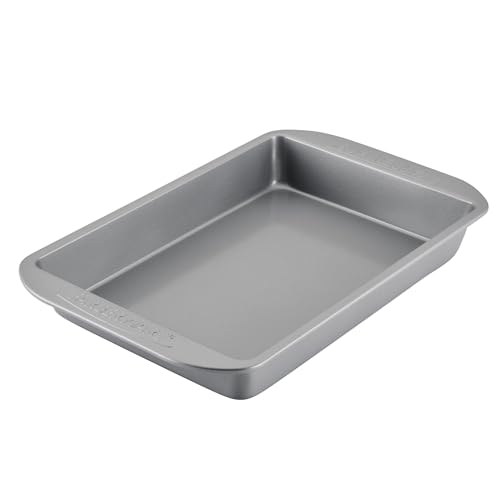
NO WARP DURABILITY: This nonstick 9x13 cake pan features heavy-duty construction that resists warping and heats evenly to brown beautifully and help reduce hot spots

9 x 13 inch rectangular cake pan; made from aluminized steel; a mix of steel for strength and durability and aluminum for superior heat conductivity; oven safe to 450°F
Arrange Dough for Perfect Pull-Apart Texture
To achieve the iconic pull-apart texture, start by portioning your dough into evenly sized pieces. Use a sharp knife or pizza cutter to cut the dough into consistent chunks—smaller pieces create more seams for a finer shred, while larger ones give a chunkier crumb. For layered shaping, stack the pieces in groups of three or four and position them sideways so the layers separate cleanly when baked. Folding some pieces in half can create thicker, more tear-apart sections. Avoid packing the pieces too tightly; leave small gaps between them to allow for expansion, which results in a lighter, more pullable crumb. For evenly portioned dough, you can use a KitchenAid mixer attachment to cut the dough quickly and consistently. How you shape the dough in the pan also influences texture. Side-by-side stacking works well in loaf pans, while round pans benefit from concentric groupings. Rolling the dough into balls or rectangles increases surface contact, and arranging them vertically exposes more edges. This technique promotes even baking and ensures each piece tears apart easily without merging into a dense loaf. For a standard alternative, a half sheet pan provides ample surface area for arranging the dough in a single layer, ensuring even browning and easy pull-apart serving.
Grease and Caramelize Like a Pro
Greasing your pan thoroughly is essential for a clean release of your pull-apart bread. Use a generous amount of cooking spray or shortening, spreading it with a paper towel to reach every ridge, seam, and the center tube. Wearing heat resistant oven gloves can protect your hands when handling the hot greased pan. Fluted or shaped pans require extra attention to ensure no areas are missed, preventing sticking during baking. This careful preparation guarantees that when you invert the baked bread, it will come out effortlessly, maintaining its perfect shape. Using a KitchenAid mixer can help uniformly incorporate the dough’s ingredients for consistent texture. A springform pan with a removable bottom is a viable alternative for monkey bread, as it offers easy release without flipping the pan upside down.

This 9 inch springform pan accommodates standard size recipes
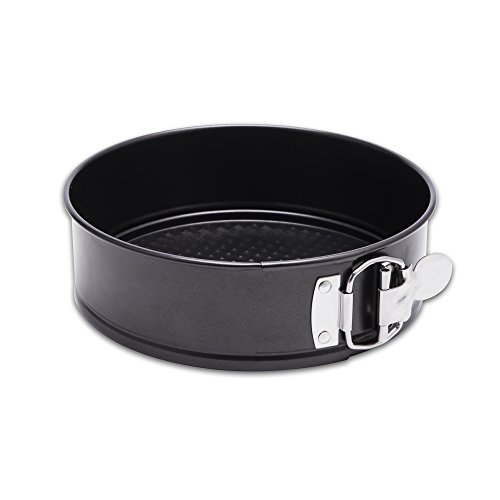
HEALTHY COATING: Our Non-stick coating is a food grade safety coating with no harsh chemicals or hazardous substances. The true double layer coating allows the cake be easily removed without damage. Avoid making it difficult to clean the cake because it sticks to the pan or leaves a lot of cake residue.

Perfect for cheesecake, mousse, quiche and more, this 8 inch springform pan is an essential item in any baker’s kitchen
How to Check Doneness and Fix Common Baking Problems
To determine if your monkey bread is fully baked without a bundt pan, look for a puffed, deep golden-brown top. Insert a skewer or toothpick into the thickest part of the loaf; it should come out clean or with just a few moist crumbs. For the most accurate result, check that the internal temperature has reached between 190 and 200°F. If the center remains doughy or sticky, return it to the oven and bake a few more minutes. When the top browns too quickly, loosely cover it with foil and continue baking until done. Because pan shapes influence bake time, start checking early to prevent overbaking. After removing it from the oven, let the monkey bread cool briefly before unmolding to avoid collapse. Once cooled, you can add fun flavor variations like cinnamon-apple or chocolate-hazelnut for a unique serving twist.

Fast and Accurate Reading: Kitchen thermometer for cooking features a 1 second readout speed and high accuracy of +/-0.9 degrees Fahrenheit, ensuring you receive the most delicious results every time
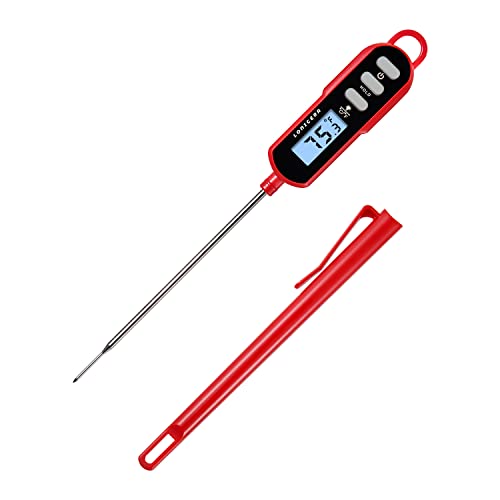
5" Probe & IPX6 Waterproof - Long 5-inch food-grade probe keeps your hands safely away from hot liquid and heat. IPX6 waterproof design lets you rinse it directly under running water for easy cleaning.

FAST & PRECISE: Quickly test if your sourdough bread, cakes, and pastries are perfectly baked. Use as meat thermometer probe for grilling meat on the BBQ. Reads in just 0.6 seconds with ±1°C accuracy. Feinback's Digital cooking thermometer for meat and baked goods is engineered to stay precise for decades.
What If Your Monkey Bread Is Still Doughy in the Center?
If your monkey bread remains doughy in the center, it generally means it needs more time in the oven. Don’t rely solely on the golden top as an indicator; instead, continue baking in short 5-minute intervals, checking the texture after each. If the crust begins to brown too quickly, loosely cover it with foil to prevent burning while the interior catches up. The best way to know it’s fully cooked is by measuring the internal temperature—aim for about 190°F. An internal thermometer can help confirm this, ensuring the dough is completely baked through. Additionally, verify your oven’s temperature with a thermometer, because an oven running cooler than its setting can leave the center raw. A fully baked monkey bread will be firm and spring back when pressed, not wet, sticky, or separating into raw pieces. If it still feels wet or doughy inside after additional baking, keep checking and give it more time until the center is set properly. For precise measurement, consider using top measuring spoons for any ingredients added to the dough.
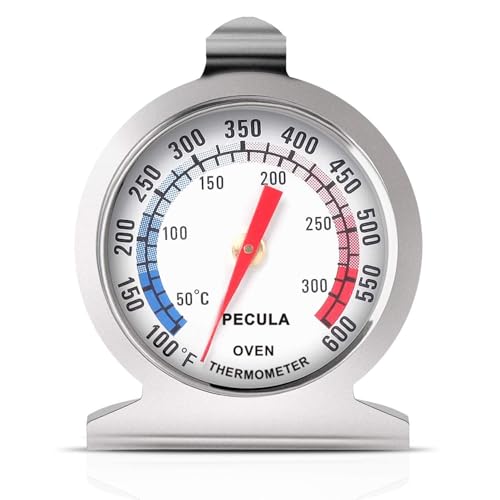
Clear Dial Display: PECULA's analog oven thermometer delivers precise, instant readings from 50–300°C / 100–600°F. Its dial features clear dual-zone blue and red indicators for at-a-glance temperature monitoring—perfect for ovens, grills, smokers, and deep fryers, ensuring you master every bake, roast, or fry.

Oven and grill safe for leave-in use while cooking
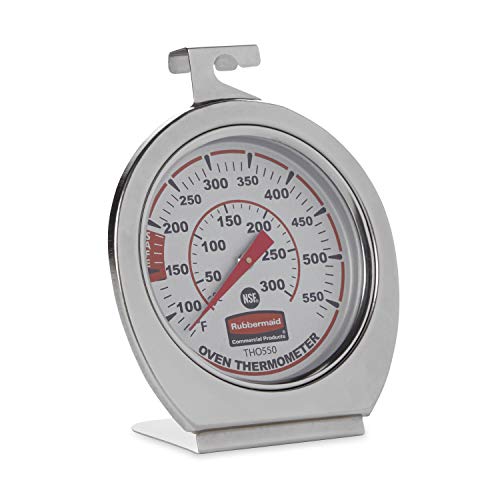
FOOD SAFETY: Thermometer displays true oven temperature instantly to ensure safe food preparation