Getting your baking sheet ready without sticking or uneven browning can feel tricky.
The trick is choosing the right fat and applying just the right amount so your baked goods come out smoothly. When done correctly, greasing your pan helps release cookies easily and promotes even baking.
Keep reading for simple tips to master the perfect, light coat every time.
Which Fat Should You Use for Greasing Your Baking Sheet?
Butter provides excellent flavor and browning ability when greasing your baking sheet, making it ideal for baked goods like brownies and crusty bread. Its rich taste enhances flavor, but it has a lower smoke point, so it can burn if exposed to high heat for too long. For a neutral, high-heat option without added flavor, vegetable shortening offers a reliable nonstick surface and handles higher temperatures well. Cooking spray is quick and easy, providing an even, thin coating that’s perfect when speed is essential. If you prefer healthier fats, oils such as avocado or coconut oil spread smoothly over the surface, offering neutral or slightly tropical flavors along with health benefits. For those who use measuring cups, ensuring you use the best cups for measuring can improve consistency in your baking. Clarified butter or ghee also work well, reducing the burn risk while delivering a buttery taste. For bakers who frequently grind their own flour, using a grain mill attachment can transform fresh grains into a superior baking ingredient. Your choice depends on whether you prioritize flavor, easy release, or convenience. For those who want to expand their baking capabilities, Kitchenaid mixer attachments offer versatile tools for various tasks.

Made from palm oil
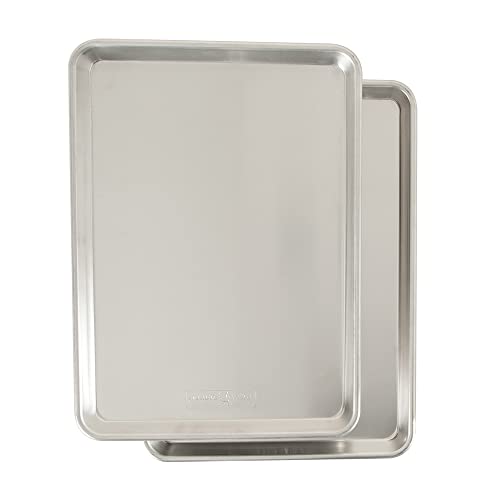
Naturals bakeware is made of pure aluminum for superior heat conductivity and produces consistently evenly browned baked goods every time.

Our popular natural aluminum half sheet with a nesting, oven-safe and nonstick steel grid
How to Apply Grease Evenly for Perfect Results
To achieve perfect results, apply a thin, even layer of grease across the entire baking sheet. Start from the center and work outward to the edges and corners, ensuring no areas are missed. Use a paper towel or pastry brush to spread the grease evenly, employing overlapping strokes or circular motions to avoid missed patches. Move quickly but intentionally to spread the grease before it begins to set, which helps maintain a consistent, thin coating. Be sure to cover the corners and edges thoroughly, as these are more prone to sticking. After spreading, let any excess drip off to prevent pooling. This uniform, light coating promotes even browning and easy release, giving you reliable, professional-looking results every time. Keep it thin and even for the best baking outcome. For a reusable nonstick alternative to greasing, consider using a Silpat mat for effortless release and simple cleaning. Additionally, selecting a quality loaf pan can further enhance your baking results by ensuring consistent heat distribution and easy release. For those who frequently bake, protecting your mixer with a KitchenAid mixer cover can also keep it clean and ready for use.

Fat-free cooking spray, 5 ounces

One - 8 ounce aerosol of Happy Belly Non-Stick Canola Oil cooking spray

Pam Baking Non-Stick Cooking Spray
Don’t Make These Common Greasing Mistakes
Using the right amount of fat is crucial for successful greasing. Applying too much creates a greasy, unappealing texture and makes cookies overspread. Aim for a light, even coating on the baking sheet. Don’t grease the pan if the recipe specifies otherwise; many cookies rely on an ungreased surface to rise properly. Choosing the correct fat also makes a difference: butter can burn easily, while shortening remains stable at high temperatures. Match your fat to the recipe’s flavor profile and texture needs for the best results. Ensure even coverage by spreading the fat thinly across the entire surface, including corners, to prevent sticky spots. Additionally, note that springform pan leaks often occur from improper sealing or greasing where the base meets the side. If you frequently cook bacon, a nonstick surface helps prevent stubborn residue and makes cleanup far simpler with the best baking sheet for bacon. A precision food scale is valuable for portioning the right amount of fat to avoid over-application. Lastly, don’t neglect cleanup. Residue left on the sheet can cause sticking and impart off-flavors on your baked goods. After baking, let items cool briefly before lifting and always scrub your baking sheets thoroughly after each use to keep them in prime condition.
When to Use Parchment or Silicone Instead of Grease
Parchment and silicone mats are often better choices than greasing for delicate baked goods such as macarons, meringues, and sugar cookies. They provide a stable, nonstick surface that helps prevent tearing or sticking when you release them, an outcome grease can’t reliably achieve. Parchment paper also works well for sticky or sugary recipes like brownies or caramel bars, ensuring clean lift-off. Silicone mats excel with hot sugar work like toffee, offering durability and an excellent nonstick surface.
However, consider the baking surface’s heat transfer properties. Parchment acts as a buffer, slowing down browning because it insulates from direct contact with the metal pan. Silicone mats insulate even more, which can affect how evenly your baked goods brown. If you want strong bottom browning, it’s best to skip the liners or use a bare metal sheet. Always check temperature limits: parchment generally withstands up to about 425°F, while silicone mats should not be placed under broilers or exposed to direct high heat. For quick cleanup, parchment paper is disposable, whereas silicone mats are reusable and ideal for frequent baking sessions.
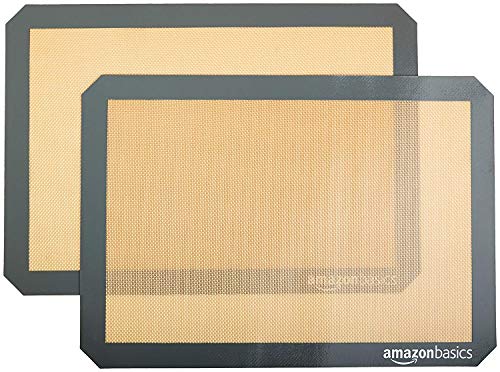
Baking mat (2-pack) for easy and convenient baking, roasting, or food prep
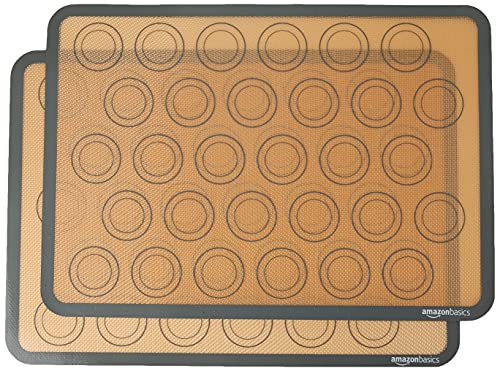
Baking mat (2-pack) with macaron cookie template (includes guidelines for 30 macaron halves per sheet)

Baking mat (4-pack) for easy and convenient baking, roasting, or food prep
Why a Light, Even Coat Makes the Biggest Difference
Applying a light, even coat of grease is essential because it forms a continuous, nonstick barrier that prevents dough from bonding to the pan. A thin layer ensures heat transfers predictably, avoiding oily hot spots that can scorch your cookies. Bare spots at corners or seams invite sticking, while pools of fat create uneven slip zones, affecting your baked results. For roasting meat, a roasting rack can similarly elevate food to promote even cooking and avoid sticky bottoms.