

If you don’t have a loaf pan or want to try a different shape, you can bake banana bread in a variety of pans like an 8×8, 9×9, round, or muffin tins.
The key is to prepare the pan well with grease and flour or line it with parchment to prevent sticking.
Baking times and temperatures stay similar, but it’s important to keep an eye on it and check doneness with a toothpick.
Keep reading for tips to get perfectly baked banana bread no matter what pan you use.
Bake Banana Bread Without a Loaf Pan: Which Pan to Use
If a loaf pan isn’t available, you can still bake banana bread using several alternative pans. Muffin tins are the most reliable option, allowing you to make individual portions that bake in approximately 15 to 22 minutes. An 8×8-inch square pan works well too, giving you neat, sliceable squares. Round cake pans, typically 8 or 9 inches in diameter, distribute the batter evenly into a thinner layer for uniform baking. For a decorative touch, consider using a Bundt pan, which creates a visually appealing shape. A small casserole dish is also suitable, offering a broader surface that can produce a different texture.
The material of your pan influences baking times. Dark metal pans absorb heat more quickly, which can shorten baking duration, so be sure to check for doneness earlier. Glass or ceramic pans tend to need slightly longer baking times due to slower heat conduction. You can also experiment with flavor additions such as chocolate chips or nuts, but keep in mind that these ingredients will distribute differently depending on how shallow or deep your pan is. Regardless of the pan you choose, keep an eye on your banana bread’s progress and use a toothpick to test for doneness. If using a Silpat mat to line your alternative pan, remember to hand wash gently with warm soapy water to avoid damaging the silicone coating.
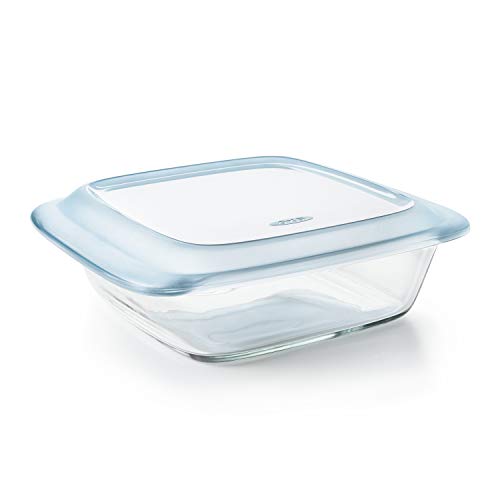
Strong, borosilicate glass construction for freezer to oven use Withstands extreme temperature changes without the risk of cracking or shattering

【Healthy & Non-Toxic】Made of pure stainless steel without any toxic materials or coating. No harmful chemicals release at high temperature and no worry about coating chip off or leaching into your food. A durable, healthy upgrade that perfectly replaces aluminum and coated cake pans

8x8 Inch Baking Dish: With dimensions of 10.3 x 8.9 x 2.9 inches (including the handle), this baking dish is perfect for preparing lasagna, casseroles, desserts, gratins, brownies, and more. Perfect for small families or individuals, it typically caters to the needs of 2-4 people, making it ideal for cooking small portions or serving as a container for a single dish.
Grease, Flour, or Line Your Pan So Nothing Sticks
The most reliable way to prevent sticking is to create a continuous nonstick barrier on your pan. Start by coating the entire interior surface with butter, shortening, or baking spray, ensuring every corner and seam is covered with a thin, even layer. Thick clumps or uneven patches can lead to sticking, so spread carefully. Next, sprinkle flour over the greased surface, tilting the pan to coat all sides evenly, then tap out any excess. This flour barrier is especially effective for dense quick breads like banana bread, regardless of the type of pan you use. For additional security, cut a piece of parchment paper to fit the bottom of the pan and press it in after greasing. If your batter is particularly sticky or moist, lightly grease the parchment paper too. The optimal method depends on your pan material: dark, rough-surfaced pans benefit from full parchment coverage, while smooth, light-colored pans typically only need grease and flour. Ultimately, a continuous nonstick barrier built with grease and flour or parchment will outperform any single fat choice. For even mixing of the batter, you can use a stand mixer fitted with a dough hook, which is a top-rated tool for combining dense ingredients. To ensure precise liquid measurements for your batter, consider using a top-rated measuring cup for accuracy.

Easy Cleanup: The surface helps reduce baked-on residue, and the mats can go in the dishwasher once cool for convenient cleanup between batches
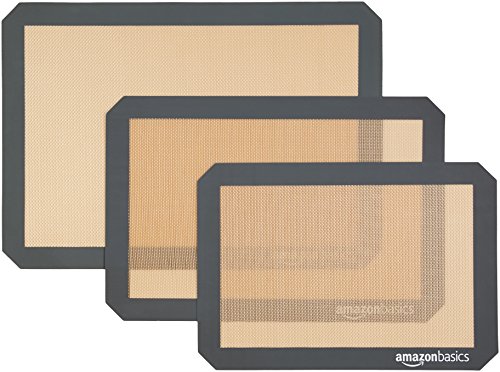
Baking mat (3-pack) for easy and convenient baking, roasting, or food prep
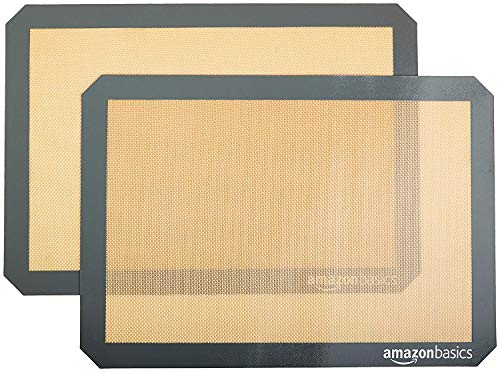
NON-STICK SURFACE: Flexible silicone baking mat releases food easily without the need for oil, cooking sprays or parchment paper for healthier & mess-free baking
Keep the Oven at 350°F for Reliable Results Every Time
Setting your oven to 350°F ensures reliable results every time. This temperature offers a balanced environment where the moist batter can cook evenly without burning the crust or leaving the center underdone. It allows heat penetration that promotes thorough baking, resulting in a golden, moist banana bread. Using a consistent temperature reduces the risk of uneven baking and helps achieve that perfect texture. Whether you use silicone or fabric gloves, black cooking gloves are designed to be heat resistant and can help you safely handle the hot pan.
Preheat the oven fully before placing your banana bread inside. Calibration matters; if your oven tends to run hot or cold, adjust the temperature appropriately. For convection ovens, lowering the temperature by about 25°F can help prevent over-browning. Confirm doneness by inserting a toothpick into the center—if it comes out clean or with a few moist crumbs, your bread is ready. An internal thermometer measuring 200°F to 205°F provides the most accurate indicator of doneness. Sticking with 350°F supports gentle caramelization, which enhances flavor without risking burnt edges or an undercooked center.
Baking Times for 8×8, 9×9, Round, and Muffin Pans
Since you’re using different pans, adjusting your baking time is essential for perfect results. For an 8×8-inch pan, expect a baking time of about 20 to 50 minutes. A thinner batter layer will bake faster, closer to 20 minutes, while a fuller one may take up to 50. With a 9×9-inch pan, the larger surface area usually reduces baking time to around 20 to 30 minutes. Round pans, which are often similar in depth to shallow square pans, typically need 35 to 40 minutes, but it’s important to consider their actual depth. Muffin pans vary widely: mini muffins finish in 10 to 12 minutes, standard-sized muffins take 14 to 25 minutes, and larger muffins may require 25 to 30 minutes. Keep in mind that the material of your pans influences heat absorption: dark metal pans heat up quicker than glass, so you may need to adjust your baking time or temperature accordingly. Ensuring even batter thickness across all pan types helps achieve consistent baking results. A high-quality mixer cover can protect your KitchenAid from dust and spills while you bake. Using a premium stainless steel roasting pan with a rack can also improve heat distribution for denser batters. Using a top rated food scale ensures your ingredient measurements are precise, which is critical for maintaining proper batter consistency across different pan types.

POP OUT EASILY - With silicone muffin cups, you don't even need to spray a cooking lube in each muffin tin cup. Just push up on the bottom and whatever delight you've baked pops up easily and non-stick.

2-Pack Muffin Pan Set for Every Baking Need: This versatile set includes one 12-cup regular muffin pan and one 24-cup mini muffin pan, letting you bake standard muffins and bite-size treats with one purchase. Ideal for families, parties, and meal prep, it saves space while expanding baking options.

Reliable Muffin Essential: The Wilton Gold Non-Stick Bakeware Muffin Pan is a home bakery pan for baking cupcakes, muffins, and more with even heat distribution and dent-resistant construction
The Toothpick Test Is Your Best Friend for Checking Doneness
The toothpick test is your most reliable method for checking bread doneness, especially when baking with different pan sizes and materials. Insert a clean toothpick into the thickest part of your loaf—avoid the edges, as they tend to set first. If wet batter clings to the toothpick, the bread needs more time. A clean or only slightly moist toothpick indicates the bread is done, particularly for moist banana bread. Don’t rely on just one test; recheck in two or three spots near the center after waiting three to five minutes if needed. Keep in mind that hitting a banana chunk can give a false wet reading, so stay alert. This test remains dependable even when using creative pans or unconventional baking vessels. A golden-brown top and a firm center help confirm doneness, but the toothpick tells the real story. Using a food scale for accurate cooking helps ensure consistent ingredient ratios, which improves the reliability of your toothpick test results across different pans. Choosing a high-quality loaf pan can also help ensure even heat distribution and more consistent baking results. For best results, opt for a pan made of dark, nonstick steel to promote browning and easier release.
Prevent Edges From Browning Too Fast During Baking
If your banana bread’s edges are browning too quickly, lowering the oven temperature can prevent over-browning. Reduce the heat by 25°F when using a dark metal pan, as its darker color absorbs more heat and accelerates browning. Switching to a light-colored pan helps distribute heat more evenly, reducing the risk of fast browning at the edges. Alternatively, decrease the oven temperature by 10 to 20°F if your oven tends to run hot. Using the conventional baking setting instead of fan-assisted modes can also promote more even browning. To further protect the edges, tent the loaf loosely with foil after the initial rise, blocking direct heat without halting the baking process. Always ensure your oven temperature is accurate with an oven thermometer for consistent results. A gentler, longer bake at lower temperatures helps keep the edges golden without burning. For consistent baking results, a high-quality stand mixer can help you achieve perfect batter texture every time. For safe handling of hot pans, consider using heat resistant oven gloves that provide superior protection against high temperatures. For safe cleanup of these pans, remember that Pyrex measuring cups are not recommended for sudden temperature changes.
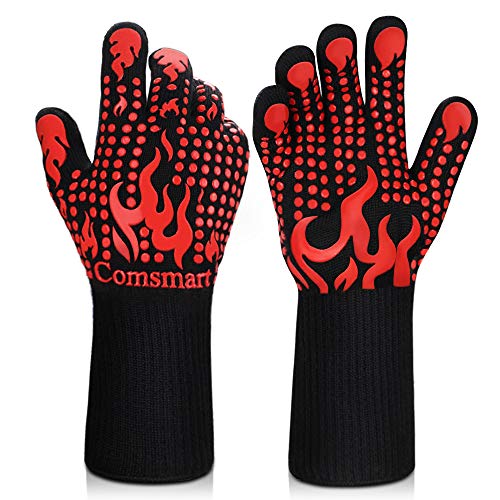
Heat Resistant: Our BBQ gloves are designed to provide protection for your hands while cooking, grilling, baking, or handling hot pots. With an instant heat resistance of up to 1472°F, these gloves are perfect for high-temperature cooking and baking.

【Extreme Heat Resistance】Our barbecue gloves & oven mitts, are designed to withstand temperatures up to 1472°F(Test max temperature tolerance), providing perfect protection for your hands from high temperatures whether you're grilling, baking, or cooking.

DURABLE, HEAT RESISTANT SILICONE - The Kitchen Aid Ribbed Soft Silicone mitts are heat resistant up to 500 degrees Fahrenheit to safely shield hands from the heat while cooking and handling hot pans and dishes.
Rescue a Wet Center Without Over-Baking
If your banana bread’s center is still wet after baking, you can rescue it without over-baking the outer crust. Return the loaf to a 325°F oven in 5 to 10 minute increments. If the top is already dark, loosely cover it with foil to prevent further browning. Use a toothpick or digital thermometer to check the deepest part of the center. You’re aiming for a temperature of 200°F to 205°F or just a few moist crumbs—wet batter indicates it needs more time. Once the center tests clean, remove the bread from the oven.
After baking, let the bread cool completely on a wire rack before wrapping. This cooling period helps the crumb set and prevents sogginess. Keep in mind that over-baking increases drying of the outer layers, so short, gradual reheats are safer than an extended bake. If the middle remains gummy despite rescue efforts, slicing the bread and toasting individual pieces is a good alternative.
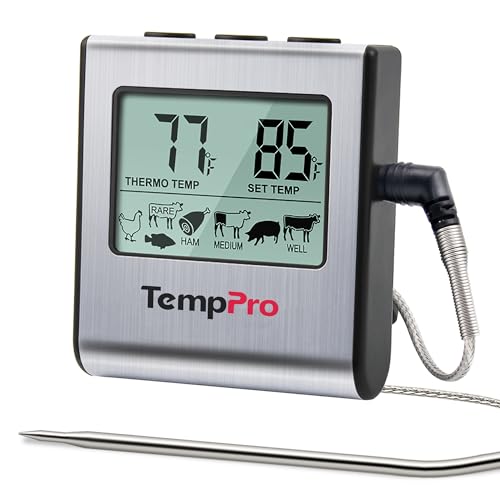
Cook mode with USDA preset temperature settings: TempPro cooking thermometer ideal for meat, oven, smoker or stove top; Programmable alert with preset temperatures for specific foods recommended by USDA; All of the preset temps can be reset to your desired tastes

Cook mode with USDA preset temperature settings: TempPro cooking thermometer ideal for meat, oven, smoker or stove top; Programmable alert with preset temperatures for specific foods recommended by USDA; All of the preset temps can be reset to your desired tastes

Bluetooth Monitor Remotely: Govee Bluetooth meat thermometer lets you check the temperature of your grill, smoker, or oven from your phone. With this smart BBQ thermometer, you can multitask while grilling.
Stop Overmixing: The Simple Stir That Saves Your Bread
Overmixing is the quickest way to ruin banana bread. When you stir too much, you develop excess gluten, which makes your once-tender loaf dense and rubbery. The goal is to achieve a delicate crumb, not a chewy one.
Mix only until the dry ingredients are just moistened. The batter should be thick and shaggy with a few small lumps—these lumps indicate proper mixing. Use a rubber spatula for gentle folding, avoiding electric mixers, which can over-agitate the batter. For the best results, choose a model with a paddle attachment that allows for slow, controlled mixing without overworking the dough. Vigorous stirring after adding flour causes toughness and loses the bread’s softness. Using KitchenAid attachments designed for low-speed mixing can further prevent gluten overdevelopment while maintaining a tender crumb.
The main risk isn’t sugar crystallization but gluten overdevelopment from prolonged stirring. A smooth batter is a warning sign that you’ve overmixed. Stop stirring as soon as no flour streaks are visible. About 15 to 20 light strokes are enough to combine everything without overdoing it. The reward for this careful approach is a loaf that’s soft, tender, and light—never heavy or dense. Keep the mixing brief and gentle to preserve the crumb. Using top mixing bowls can help you mix more gently and avoid overworking the batter.
Let the Bread Cool Before Slicing for Clean Pieces
Allow the bread to cool completely before slicing for clean pieces. After baking, let the loaf rest in the pan for 10 to 15 minutes. Then transfer it to a wire rack for full cooling, which typically takes 1 to 2 hours at room temperature. Patience here ensures the slices stay intact and neat. Using an artificial pan may cause the loaf to stick or break more easily, so resting helps it contract and release cleanly. The wire rack promotes air circulation underneath, preventing condensation that can make the bottom soggy. Avoid slicing warm bread because the crumb is too soft and prone to smearing or tearing. Wait until the loaf reaches room temperature to achieve the best slices. Use a serrated knife with gentle sawing motions for the neatest edges. Fully cooled bread holds its shape better, preventing crumbling or compression during slicing. For best results in any pan, using a pan with a nonstick coating can help the loaf release more easily and maintain its structure. Choosing the perfect stand mixer can also improve your baking results by ensuring thorough mixing of ingredients before baking. For maintaining your mixer’s performance, food-grade grease is essential for keeping the gears running smoothly.